Bread Baking Technique #4 - The 12 Stages In The Life of Any Bread

#1 - Mise en place (everything in its place)
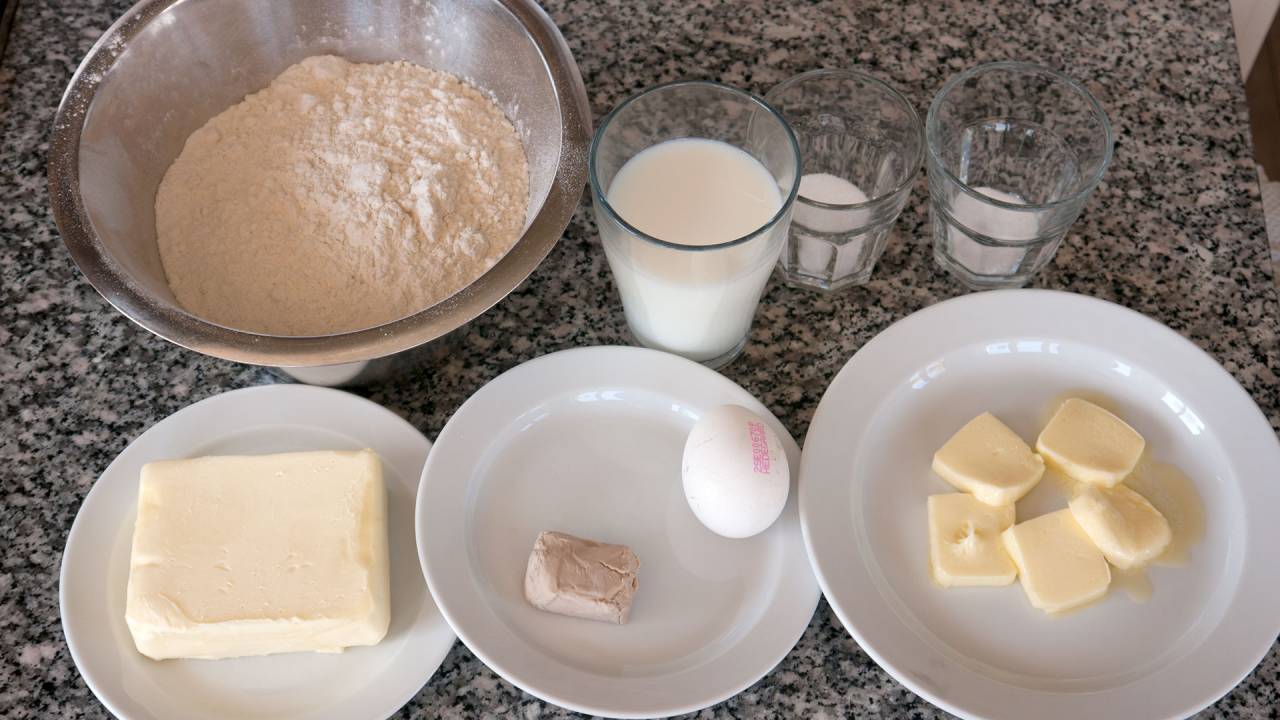
You measure and place all the ingredients on your table.
This assures you that you are not missing any ingredients before you begin. It also makes it much harder to forget something. "Oh, did I remember to add the salt?". If it is still on the table, you forgot to add it.
Before mixing is also the best time to go shopping for missing ingredients, rather than discovering that you don't have any yeast when you have started mixing.
#2 - Mixing and kneading
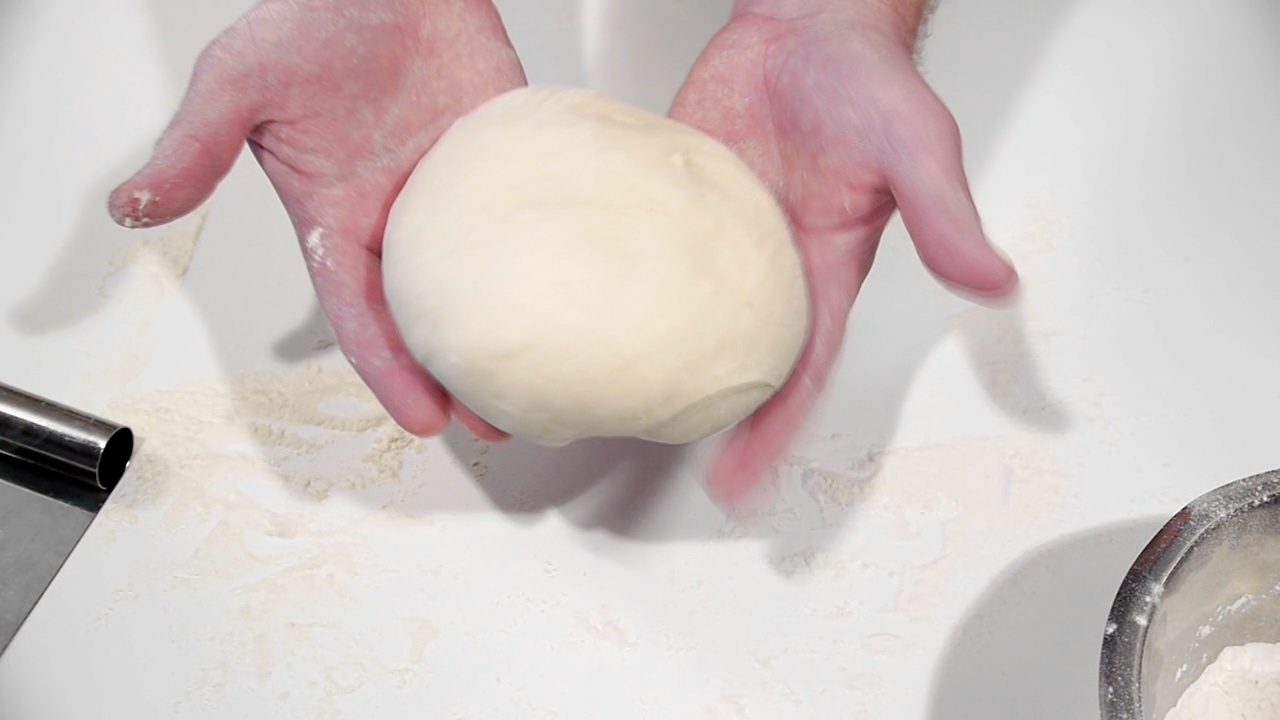
You collect all the ingredients from your recipe and knead them together. Preferably in a bowl. It is the same whether you are kneading by hand or machine.
#3 - Primary Fermentation.
The bread rises. The yeast multiplies. Enzymes, sugars and gluten is extracted from the starches of the flour. And the yeast produces carbon dioxide that causes the air bubbles. It is the most underrated of the twelve stages. The second fermentation, which comes after shaping, in step 10 is the most important step for making a bread that rises above the norm. The first fermentation is the one who determines the taste of the bread.
#4 - De-gassing (Punching down)
The name is a bit misleading. We don't want to press the bubbles out of the bread. We also want to re-distribute them more evenly, and gently fold them into the dough, so they can grow to become even larger. We also want to re-distribute and fold in the ingredients of the bread, so that fermentation can take hold again, and eve more of the starch is converted to sugar.
#5 - Dividing
Divide the dough into the final portion sizes that the loaves should have.
#6 - Rounding
Depending on what shape the final bread should have, it is given a temporary shaping. Either as a round ball or in an oblong shape (torpedo).
#7 - Rest/Benching
If you work the dough too much it will tense up, and become difficult to shape. When you stretch it, it will pull itself back in into the original shape. Then the dough needs to rest. Typically for about half an hour.
#8 - Shaping
The bread is formed into its final shape. There are many options. French bread, baguettes, rolls, braided bread, kringle etc.
There is an article and a recipe here, which shows how to shape breads of different types.
#9 - Proofing (secondary fermentation)
"The shaped bread will rise again". Well that sounds like a horror film cliche. But typically it will rise until doubled in size. Proofing is what determines how "airy" the bread will eventually be.
#10 - Baking
Just before baking, is when you should score the bread.
We put the bread put into a hot oven and bake it :-S Typically, it must have an internal temperature of 82°C-99°C (180°F-210°F) before it is finished. Yes it is okay to use a digital meat thermometer to measure when it is done.
#11 - Cooling
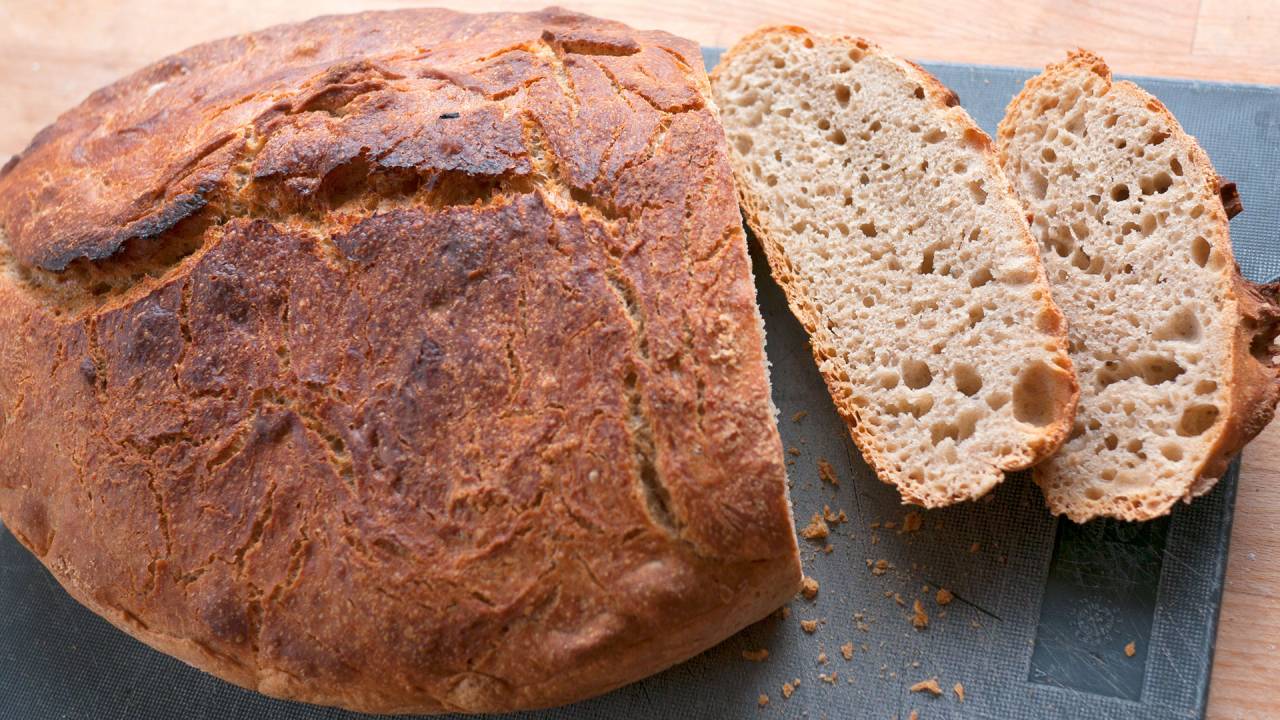
The bread must cool for at least 30 minutes, but preferably a few hours, before it can be eaten. Not because you can burn your mouth, but because the bread simply isn't finished before that. It will taste like wallpaper glue. As long as the bread is more than 71°C degrees it keeps on baking, and when you cut a loaf, the bread falls apart and sticks to the knife.
#12 - Storage and eating
If it is important for you to keep the crust crisp for as long as possible, you should store it in a paper bag. Then you should eat it within a day or so.
Most bread is best stored in a sealed plastic bag though. It makes the crust soft but retains the moistness of the crumb as long as possible.
There is no way you can both keep the crust crisp and the crumb moist for several days. Your toaster is the best bet then.
It is worth noting that bread does not become stale and dry because the liquid evaporates from it. But because the liquid forms a connection with the ingredients in the bread. That is why it suddenly seems fresh again when you toast it. Well ok. If you wait long enough, it will be dry because of evaporation too. But then it usually gets moldy first.


