Bread Baking Technique #8 - Baking The Bread
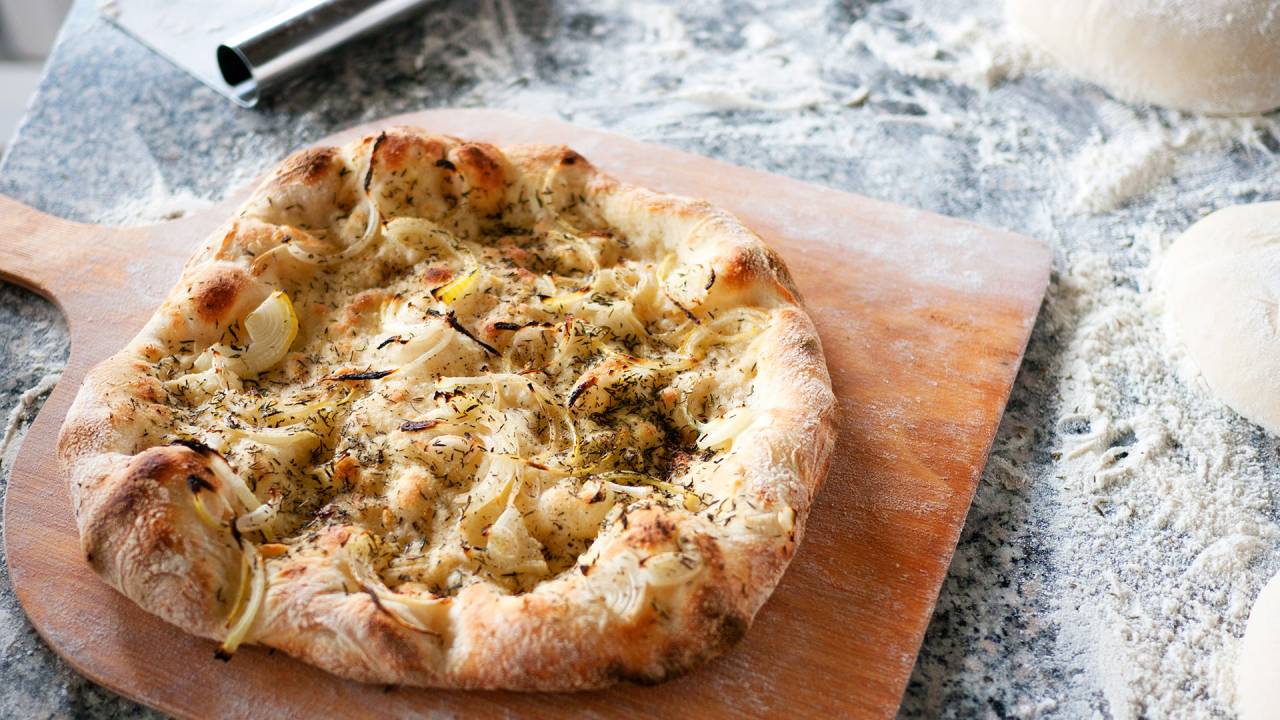
Preparing the oven
Most of the ovens that we have in our home home kitchen are hopeless to bake in. Really. But what can we do? We must make do with what we got. We just have to be more careful.
Temperature Management
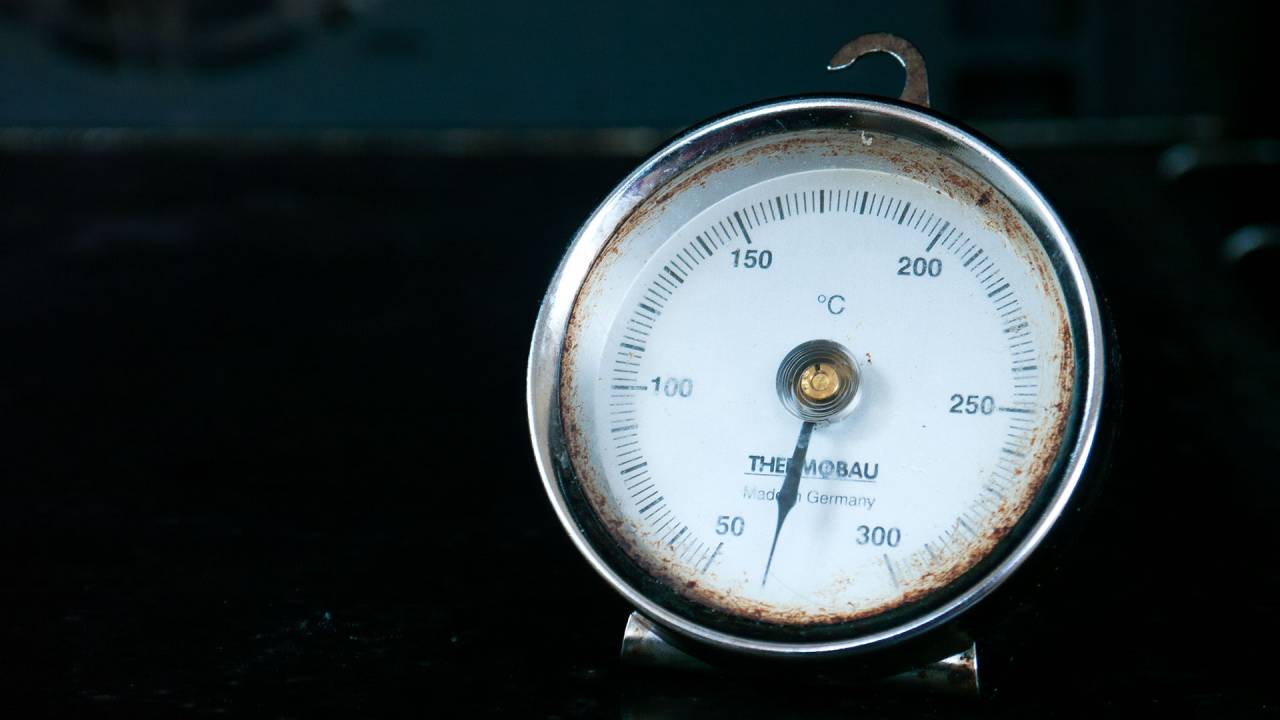
First off, our ovens are most often imprecise in their temperature measurement. So it is a good idea to use a separate oven thermometer. One that we can put into the oven to measure the temperature precisely.
Secondly, you oven takes longer to reach the temperature they are set to than you think. The oven thermostat measures the temperature of the air in the oven. It can easily be 200°C (390°F) even if all the metal inside the oven only has reached 120°C (250°F). If you then put in the bread, the open oven door will let out all the warm air and when you close it again, the bread is in an oven that is only 120°C (250°F) hot. Not exactly what you would expect.
Always allow the oven to heat at the intended temperature for at least 15-30 minutes, so that everything in the oven is at the right temperature. If you use a pizza/baking stone or similar it is even more important. Then I usually let the oven heat for an hour before using it.
An Uneven Oven
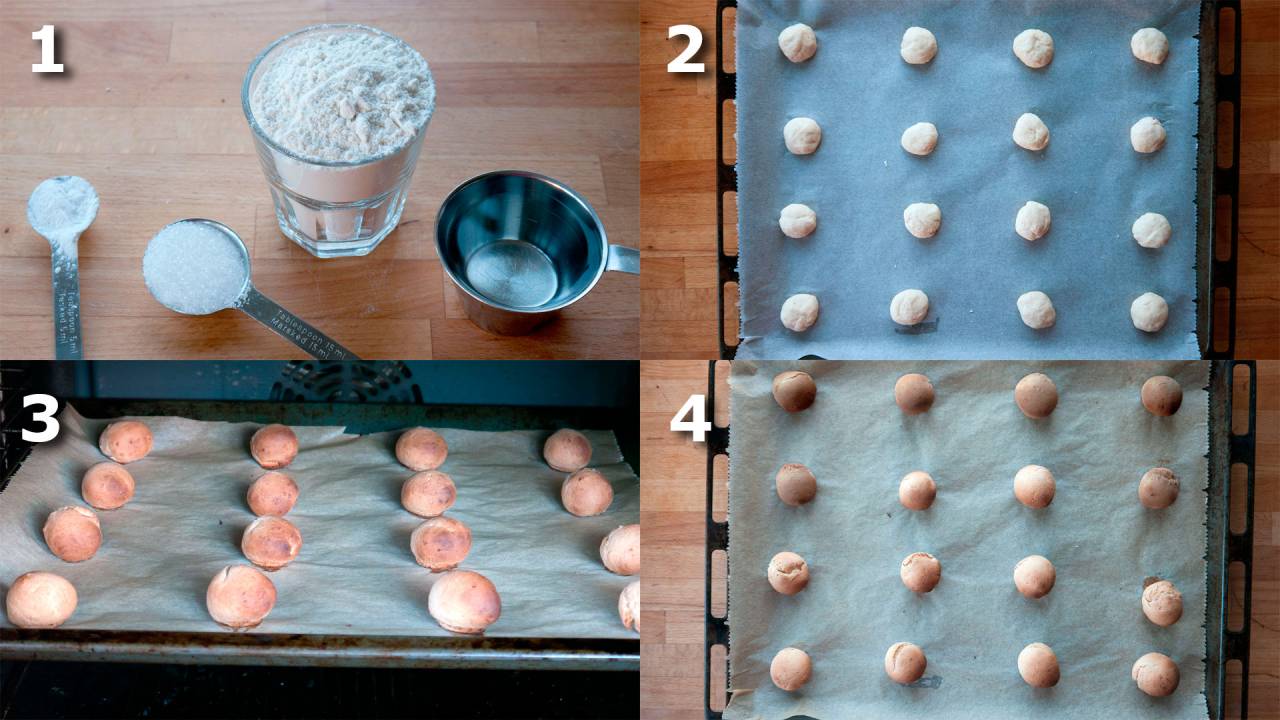
An oven often has different temperatures across the baking pan. Especially if you are not using convection. You can measure how evenly your oven heats by a simple method. Make a small portion of dough with just yeast, milk and flour. Divide the dough into 16 equal portions and spread them out evenly on your baking pan. 4 on each side. Then bake them at 200°C (390°F) and notice which pieces turn brown first, and which pieces brown later. You are better off to avoid these locations on the pan, if you bake small breads like cookies and buns. For larger bread you can simply turn the bread once during baking for even browning.
(Click on the image to see a larger version.)
- Simple recipe eg. 3 dl (1 1/3 cup) flour, 1 dl (0.4 cup) water, 1 tbsp sugar, 1 tsp baking powder.
- Divide into 16 equal shares. An roll them into balls.
- Bake at 230°C (445°F) until you can see if a pattern arises from the heating.
- Notice how your oven heats. In this case it is clear that my oven heats more from the right side, where all the balls are dark. But especially the two innermost corners darkens the bread a lot.
The professional oven
The professional oven uses much more power than a home oven. Therefore, it can quickly get back on the correct temperature when the door has been opened to insert your pan.
It may also add steam during baking. It makes the surface of the bread remain soft for a longer time, and the bread can grow a lot more inside the oven.
It also has a more precise temperature control.
A pro oven is almost always a convection oven. The hot air is being circulated inside the oven, and makes the layer of air that would otherwise stand still and insulate the bread, get blown away. The heat is then more quickly transferred to the bread. It is the same principle that makes it colder outside when it is windy.
Most home electric ovens can reach about 250°C (482°F). A wood-fired brick oven can reach 500°C (930°F). So there are some limits to what we can do in the home oven. Temperature wise. Fortunately, there are some tricks we can use.
Cheats to turn your home oven into a professional oven
First, you can buy a heat storing stone plate to put into your oven. Often called a "pizza stone". If it is heated up when you put you bread onto it, it can make the bread grow a lot better, compared to a regular baking pan. It works by transferring the heat that is stored in the stone directly to the bread. I have seen some mention that such a stone also is able draw moisture out of the crust of the bread because it is porous. Personally I don't believe it. Baking stones are particularly suitable for wet lean breads. For breads that are rich and dry it does more harm than good.
personally I have had the most luck with a cast iron "baking stone". If you have a cast iron frying pan where the handle can stand high temperatures, you should try baking in that. In fact, it is especially suitable for pizza, but that is another article. Cast iron stones results in an equally good crumb in the bottom as that of the stone plates. Which is why I doubt that the stones porosity that has anything to do with it. A loaf of bread quickly becomes uneven at the bottom when it is baked. Therefore, steam from the bread is discharged equally fast from all types of plates. As long as they are hot.
If you put your bread in a piece of baking paper when baking, your bread will have a softer underside by the same principle. The steam cannot escape from the bread when it is covered in paper. It is not much of a problem for cakes and other soft breads, but Italian and French-style bread are better of without the paper. For these types of bread I most often use my pizza spatula to put the bread into a hot baking pan or onto the hot stone.
If your oven door is tight, you can make your oven into a "steam oven" by putting a heavy roasting pan or cast iron pan into the oven. The thicker the better. Thin metal pots can not store enough energy to form enough steam. Once you have put your bread into the oven you should pour about 1 dl (½ cup) boiling / simmering water into the hot heavy pan. That will immediately create a big cloud of steam. Be careful not to burn yourself! Then shut the oven door quickly.
If you need to top up on the steam you just add a bit more hot water to the heavy pan. But the more often you open the oven the quicker it cools. So if you want to use this method, set the oven temperature to 25°C-50°C (77°F-122°F) degrees higher than you really want to bake it at. Once you are done with the steam phase you just turn down the oven to the actual temperature you want.
Baking In a Pot / Dutch Oven
An even easier way to achieve the steam and heat properties of a professional oven, is to put the bread inside a small container inside the oven. Like a cooking pot or a small baking pan.
I most often use a cast iron pot with lid to bake in. The closer the size of the pan is to the breads final size, the better the outcome will be. There is no need to add steam. The liquid from the dough is enough to create steam inside the pot, and the heavy material of the pot transfers heat quickly to the bread. It is especially useful for round loaves. A reversed roasting pan on a baking stone also gives good results, for example if you have to make long breads like baguettes. An inverted pot on top of the stone can also be used. As long as the bread can fit inside. Only your imagination sets the limits. You can also use a clay Römertopf for the purpose.
Double cast iron plates
If you are willing to buy some additional equipment you can use this method.
A pro stone oven, as mentioned, can easily reach 500°C (930°F). But the stone has a relatively low heat transfer coefficient. That is, it does not provide that much heat to the bread. Iron, aluminum and steel have very high heat transfer coefficients. (It is for this reason that you burn your fingers more easy on metal than on stone.) This means that metal at relatively low temperature can transfer a lot of heat into the bread.
Therefore, one can achieve almost the same baking result with an iron plate at 250°C (480°F) as with a stone plate at 500°C (930°F). So it is an almost perfect method for the home baker.
A heavy iron plate also store a lot of heat, so when you pour a dl (½ cup) of hot water from the tap onto it, it makes all the water boil and evaporate instantly. This results in a lot of overheated steam in the oven. Just like in a pro oven.
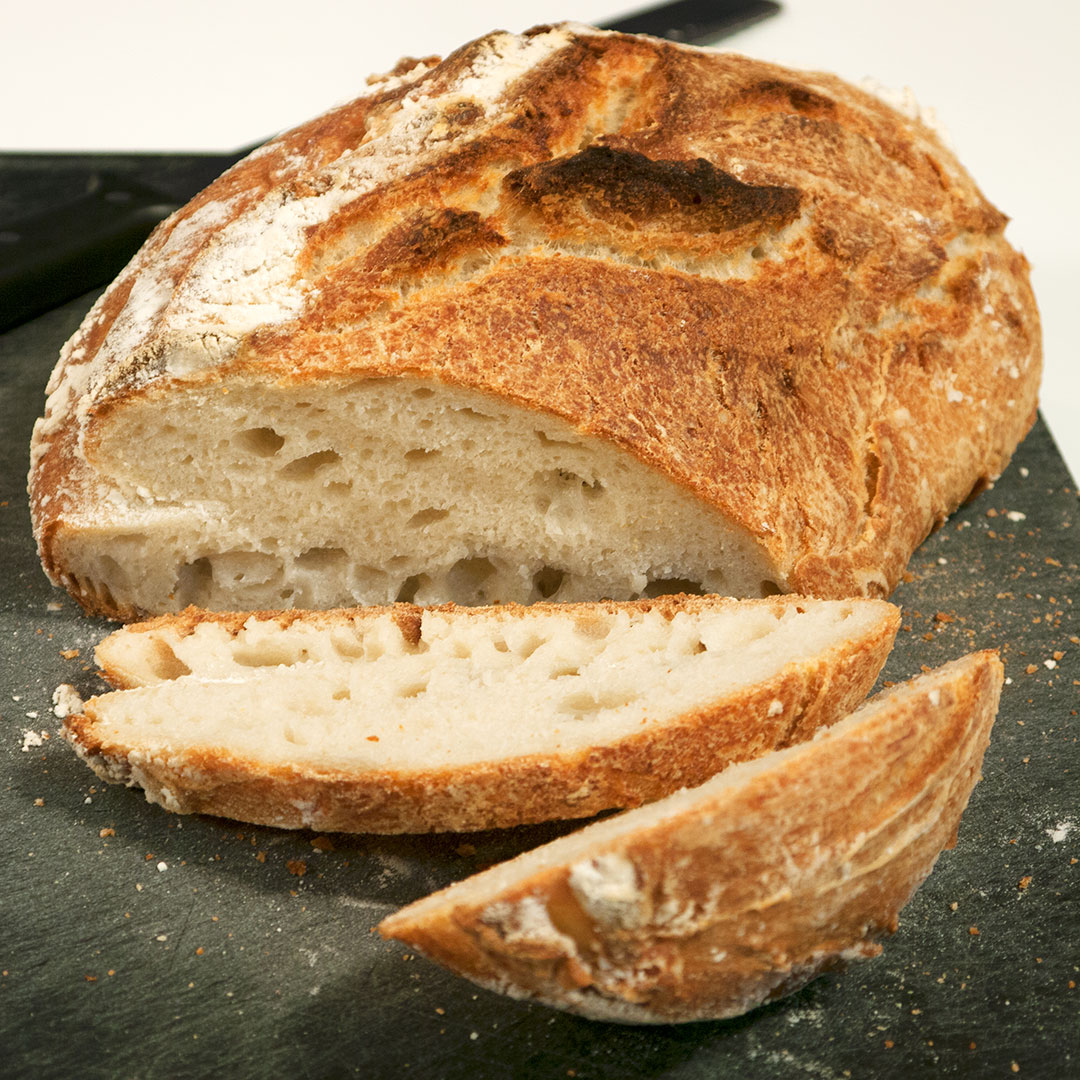
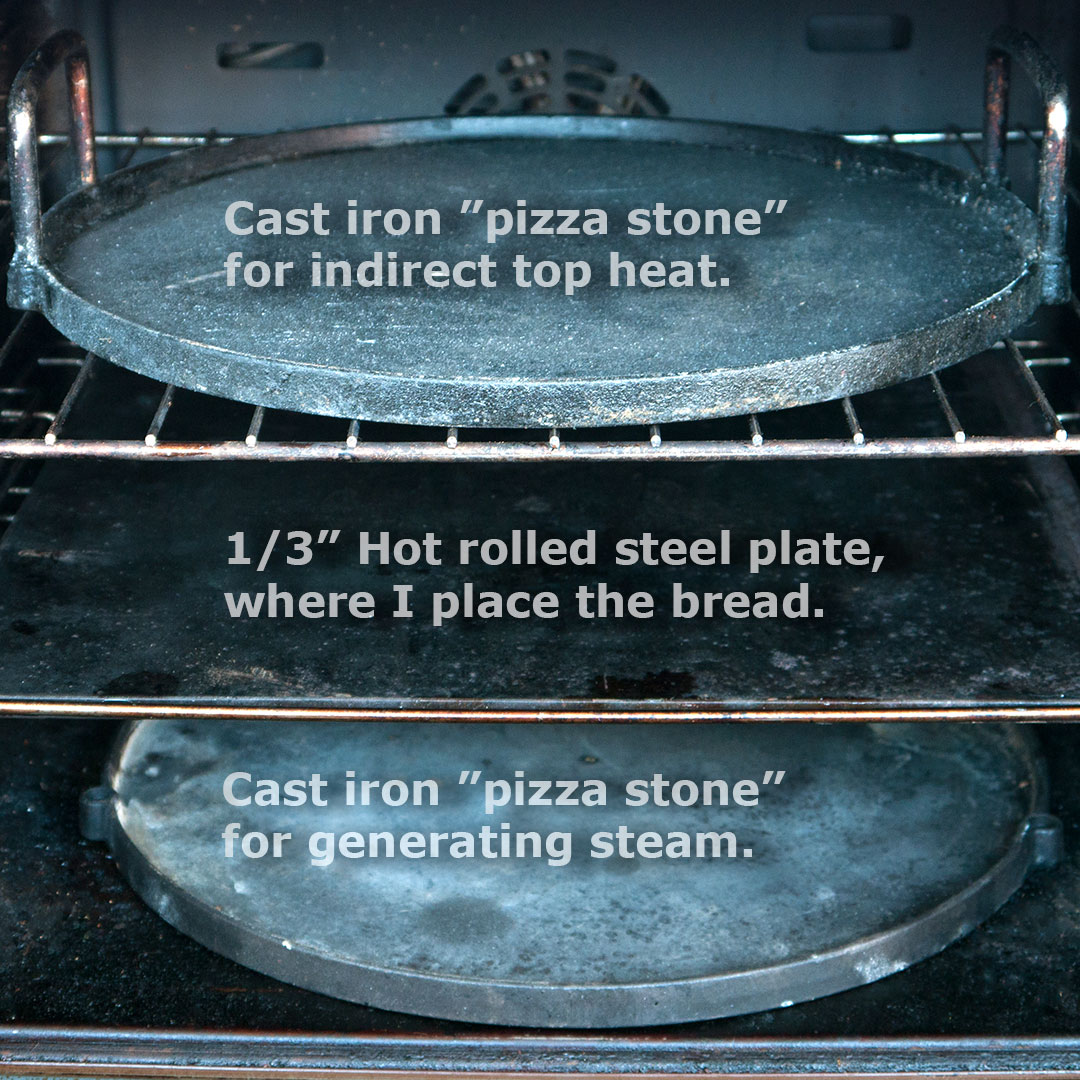
So when I need to bake a bread that isn't supposed to be "pot-shaped" , I use two pizza stones made of cast iron in my oven. One I place in the middle of my oven. This supplies a good bottom heat to the bread. The second cast iron stone I put at the bottom of the oven and this is the one I pour hot water in to create steam. I add water every 5 minute for the first fifteen to twenty minutes ..
This results in a bread that is completely as good as what any pro oven can provide.
If I make breads with a rich dough I only use the bottom stone to create steam. You can also do this with a heavy cast iron pan.
I have an in-depth article about baking stones here.
Scoring the Bread
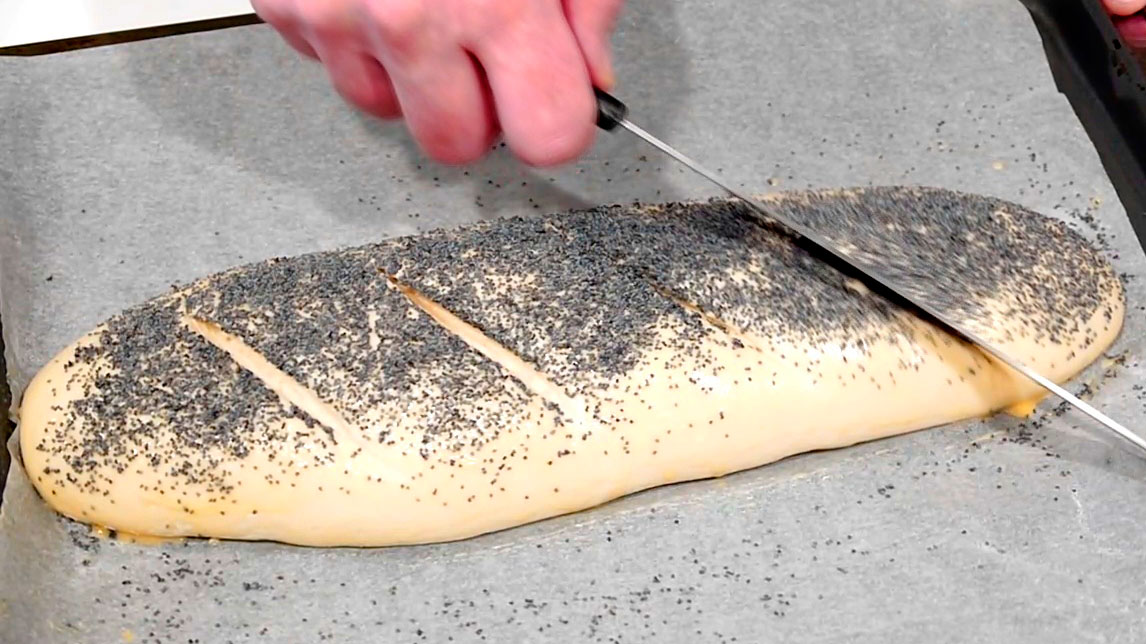
Just before putting your bread into the oven, you can score it. This means to make one or more shallow cuts in the top of the bread. It prevents the accumulation of a large gas bubbles just below the crust. If you don't and there is a gas bubble, you risk the crust falling off when you cut the bread. This is tiresome. You can buy a "lame" in most pro kitchen stores, which is a kind of razor blade placed on a stick. You can also use an inexpensive hobby knife or a sharp paring knife or a bread knife or ....
You must be gentle when you score the soft dough, and no push the knife in too far. If the knife cannot cut the dough without a lot of pressure, then you are using the wrong knife.
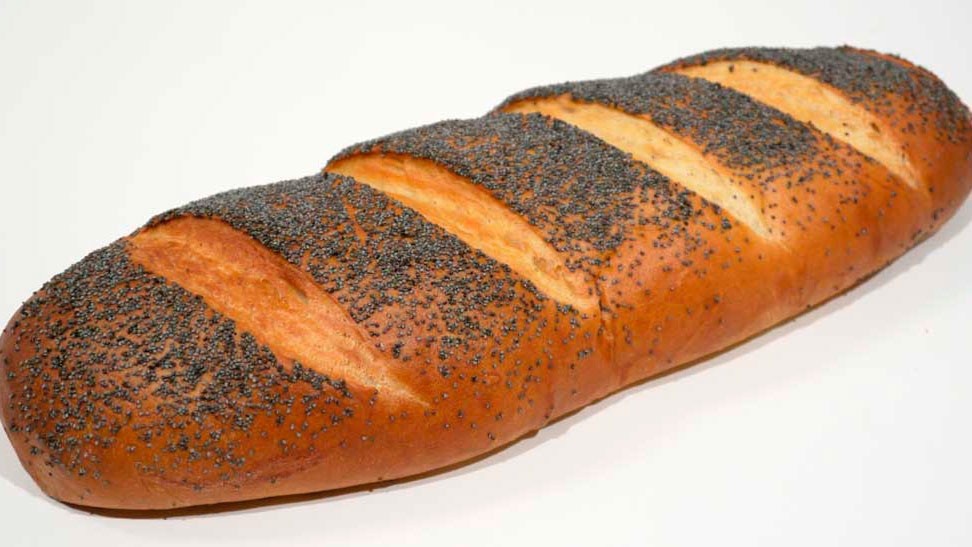
You should not score straight down into the dough. You should hold the knife at an angle, so that you almost cut parallel to the surface of the dough. The gets the cut to "unfold" the most. With what is called a "lip". It also looks perty.
The three most important processes that happens during baking
#1 Gelling the starch
Most of the flour is made of starch. Some 80%. As a child you have probably tried to make paper mache. You boil a little flour in water and it gives you glue. The starch is converted by water and heat to form a gel.
This gelling occurs between 82°C and 100°C (180°F and 212°F). Therefore, a bread should always reach an internal temperature of at least 82°C (180°F) for it to be done.
When the starch reaches 82°C (180°F) it changes character. It becomes transparent and begins to congeal into a solid mass.
The gelled starch does several things
It binds water so the bread stays soft and moist for a long time.
It gives the bread a delicious texture that makes it nice to chew.
It changes how the flavor is perceived. If if you taste a dough that is leavened but not baked, it is certainly no pleasure. The taste of the raw starch overshadows completely all the nice tasting things in the dough. When the starch is gelled, that starch taste disappears. It is bound up in the "gel" and you get to taste all the other flavors.
#2 Caramelizing the sugar
When sugar reaches about 162°C (324°F) it begins to brown and caramelize. Because there is liquid in the bread, the internal temperature of the bread will not go any higher than the boiling point of water at 100°C (212°F) degrees. Just like when a boiling pot of water does not get hotter than 100°C (212°F) even if you really crank up the cooktop. This is why bread does not brown on the inside in the crumb.
The surface of the bread, on the other hand, will quickly lose its moisture through evaporation, and therefore can almost reach the same temperature as the oven. So when the oven is set above 162°C (324°F) you bread will brown most efficiently.
But there are also so-called Maillard reactions where simple sugar molecules are turned into new compounds that may actually brown at even lower temperatures. How the bread browns is determined by how much sugar is pulled out of the flour during the fermentation. Or by how much is added in the recipe. Shorter fermentation produces a brighter golden crust and longer fermentation produces a darker more reddish crust. When your local baker makes the claim that his bread is slow-fermented, just look at the color of the crust to prove him right or wrong. The taste also changes along with the appearance of the crust.
Caramelizing is dependent on the ingredients, fermentation time, enzyme activity, oven temperature and baking time.
#3 Roasting the proteins and make them to congeal
When the proteins reaches a temperature of 60°C - 62°C (140°F-144°F), they begin to change too. First the protein molecules unfolds (see the "spaghetti" description in the kneading and proofing articles), after which they bind to each other. It is the same thing that happens in egg whites when they are cooked. They get hard and opaque. Although there is only about 10% protein in flour, it is still this substance that creates the cell structure that holds the carbon dioxide bubbles. This is also called "the gluten structure"
The proteins are not very good at keeping the water when they are heated up, so it evaporates. But this helps to concentrate the flavor. The same process happens when you pan fry an egg, and you fry it for too long. The whites becomes thin and chewy. This is because too much of the water evaporates.
Higher temperatures also help you get more of the delicious nutty flavor out of the protein.
So, when is the bread done baking?
Most bread recipes indicates a certain cooking time at a certain temperature, and that is very practical. But actually you should really measure the internal temperature of the crumb and use that as the authoritative result. Just like when cooking meat.
So you can use an electronic meat thermometer for this, and measure the temperature in the middle of the bread. It will be the last place that heats up, so the rest of the bread is at least as hot.
- Bread made from a wet dough with a hard heavy crust should be approx. 94°C - 98°C (201°F - 208°F). Aim for 96°C (205°F). If the crust becomes too dark before the internal temperature is high enough, you can cover the bread in foil or baking paper and gain a few extra minutes of baking time. The high temperature results in a tastier bread. The starch gets more gelled, the crust is browner and more water is evaporated from the proteins.
- Enriched standard dough must be at least 82°C (180°F).
- Larges breads should be heated to 85°C - 88°C (185°F - 190°F) just to be sure. Then you can be certain that there are no unbaked sections in the bread.
Incredible information, incredibly well-written. I have trouble with my cardamom buns tasting dry a day after baking. I will monitor the temperature and see if 175c for 22 minutes is too long and I will also research using convection instead.
