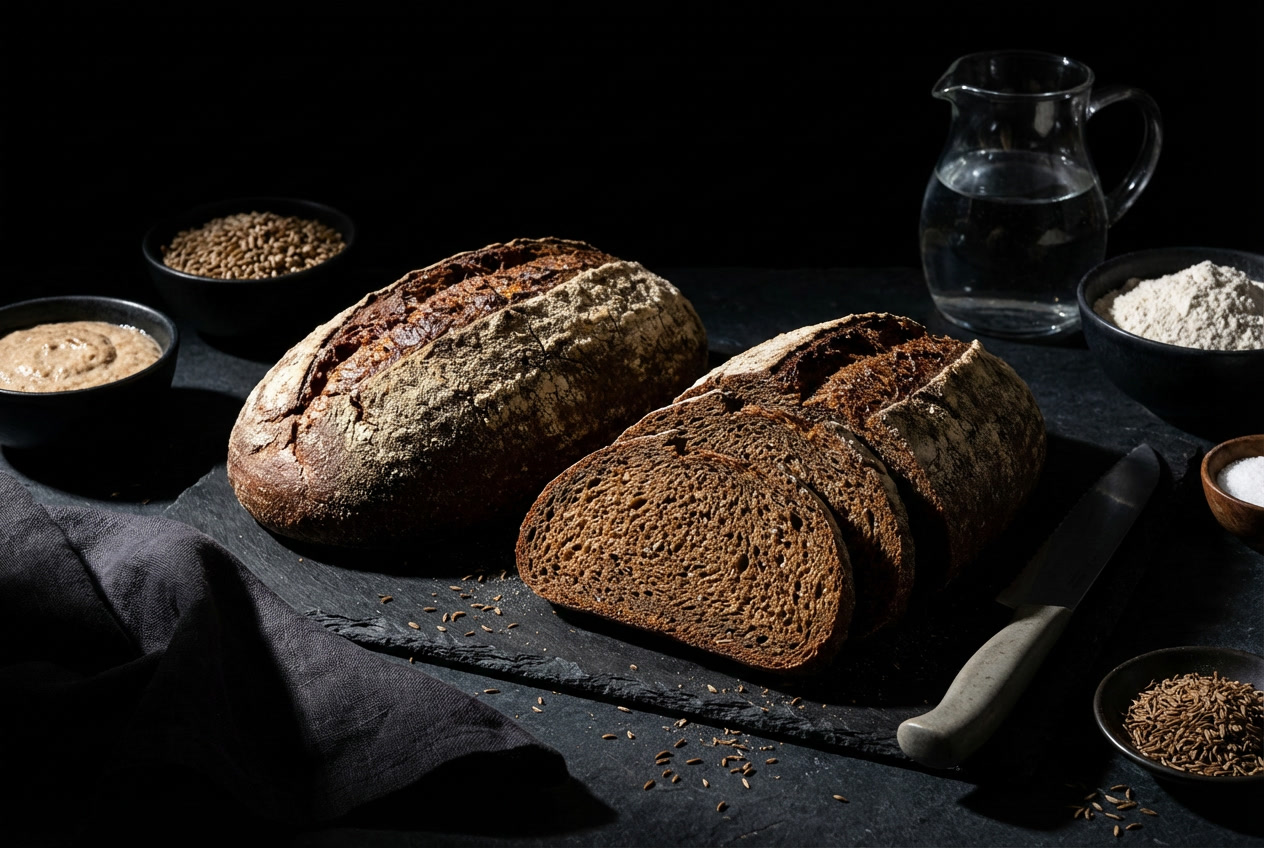
Focaccia
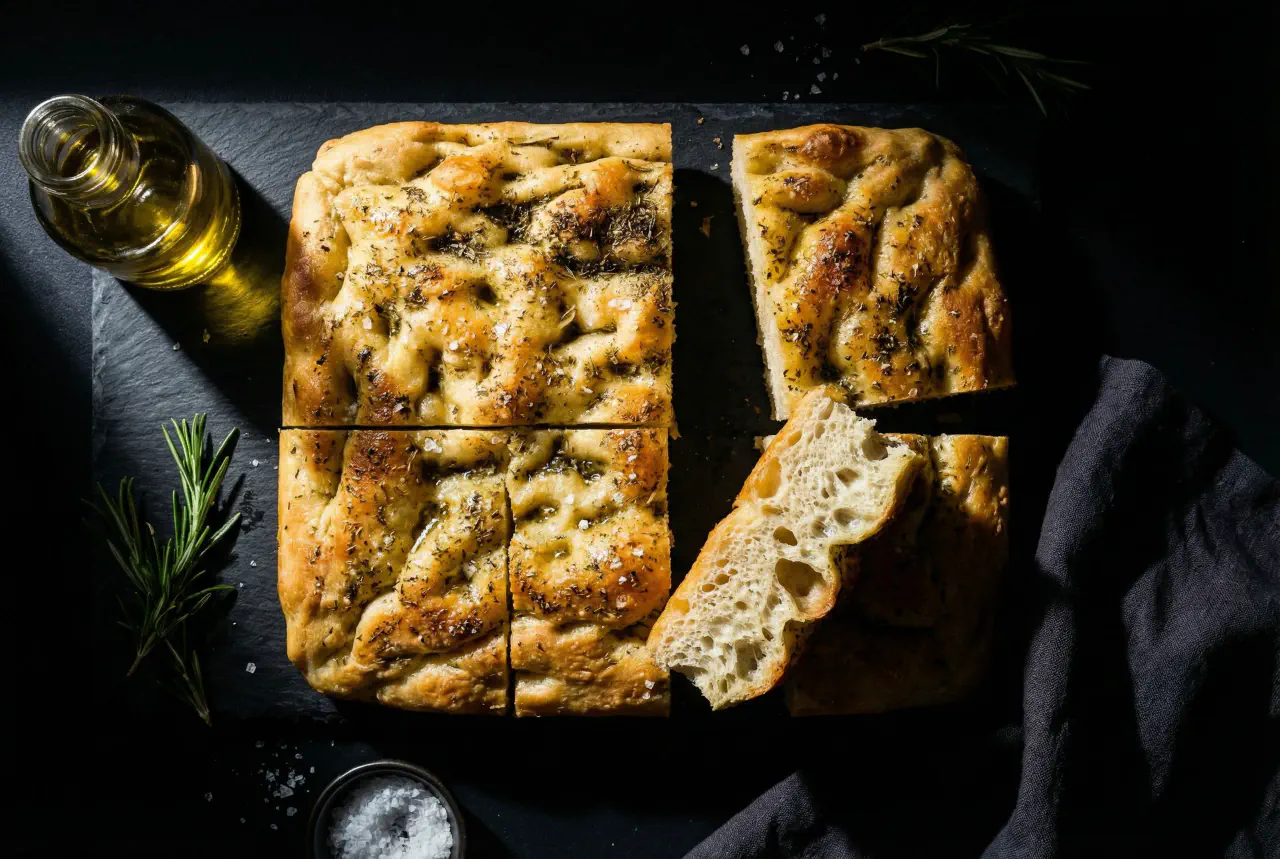
Focaccia © kvalifood.com
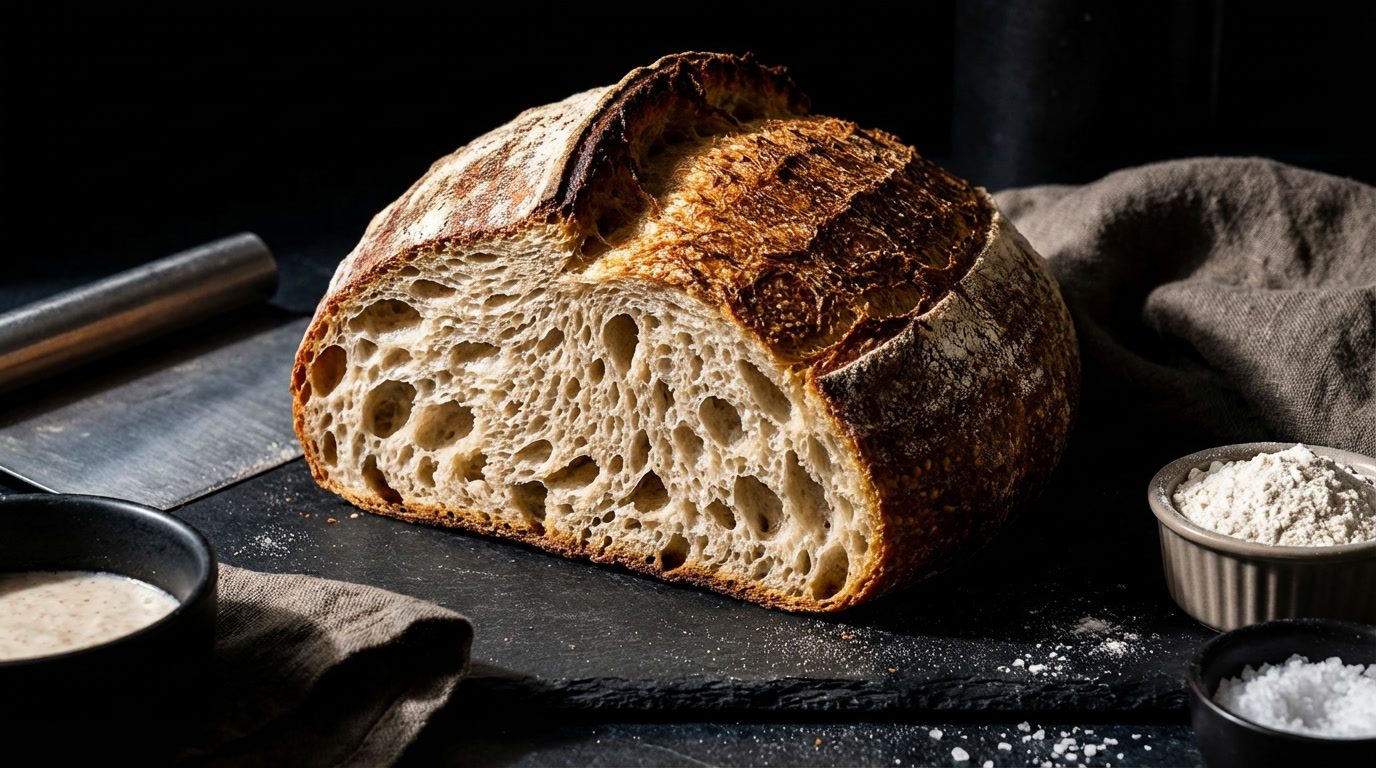
A rustic flatbread with big, open, translucent holes and a thick, dimpled crust rich with olive oil and herbs. Long fermentation—either with pre-fermented dough or cold retard—creates the characteristic honeycomb crumb. More substantial than pizza, lighter than sandwich bread.
Ingredients
Makes 1 17 by 12-inch focaccia
Direct Method
- 640 g unbleached high-gluten or bread flour
- 2 tsp salt
- 2 tsp instant yeast
- 6 tbsp olive oil
- 450 g water, room temperature
- 0.5–1 dlHerb Oil (see notes)
Poolish Method
- 570 g poolish (prepared in advance)
- 340 g unbleached high-gluten or bread flour
- 2 tsp salt
- 1½ tsp instant yeast
- 6 tbsp olive oil
- 170 g water, lukewarm (90°-100°F (38°C))
- 0.5–1 dlHerb Oil (see notes)
Herb Oil
- 5 dlolive oil, Warmed to about 100°F (38°C)
- 1 cup fresh chopped herbs (basil, parsley, oregano, tarragon, rosemary, thyme, cilantro, sage in any combination; lots of basil is recommended). Substitute ⅓ cup dried herbs if needed
- 1 tbsp coarse salt
- 1 tsp ground black pepper
- 1 tbsp granulated garlic, or 5-6 fresh cloves.
- 1 tsp paprika, optional
- 1 tsp cayenne, optional
- 1 tbsp fennel seeds, optional
- 1 tsp onion powder, or 1 tbsp dried minced onions (optional)
Directions
Direct Method
Stir together the flour, salt, and yeast in a large mixing bowl. Add the oil and water. Mix with a large metal spoon until a wet, sticky ball forms. If mixing by hand, repeatedly dip one hand or the spoon into cold water and use it like a dough hook, working the dough vigorously into a smooth mass while rotating the bowl. Do this for 3-5 minutes. If using a mixer, switch to the dough hook and mix on medium speed for 5-7 minutes until the dough is smooth and sticky. The dough should clear the bowl sides but stick to the bottom.
Sprinkle enough flour on the counter to make a 6-inch square bed. Using a scraper dipped in water, transfer the sticky dough to the flour bed. Dust liberally with flour, patting into a rectangle. Wait 5 minutes for the dough to relax.
Coat your hands with flour and stretch the dough from each end to twice its size. Fold it letter-style over itself to return to a rectangular shape. Mist the top with oil, dust with flour, and loosely cover with plastic wrap.
Let rest for 30 minutes. Stretch and fold again; mist with oil, dust with flour, and cover. After 30 minutes, repeat the stretch-and-fold one more time.
Allow the covered dough to ferment on the counter for 1 hour. It should swell but not necessarily double in size.
Line a 17 by 12-inch sheet pan with parchment. Drizzle ¼ cup olive oil over the paper and spread with your hands or a brush. Lightly oil your hands and, using a pastry scraper, lift the dough off the counter and transfer to the sheet pan, maintaining the rectangular shape. Spoon half of the herb oil over the dough.
Use your fingertips only (not the flat of your hands) to dimple the dough and spread it to fill the pan simultaneously. Dimpling allows you to degas only part of the dough while preserving gas in the non-dimpled sections. Keep thickness as uniform as possible. If the dough becomes too springy, rest it for about 15 minutes and then continue dimpling. Don’t worry if you can’t fill the pan 100%, especially the corners—it will spread naturally as it proofs. Use more herb oil as needed to ensure the entire surface is coated.
Loosely cover the pan with plastic wrap (or place in a plastic bag). Refrigerate overnight (or up to 3 days).
Remove the pan from the refrigerator 3 hours before baking. Drizzle additional herb oil over the surface and dimple it in. You can use all of it; the dough will absorb it even though it looks excessive. This should allow you to fill the pan completely with the dough to a thickness of about ½ inch. Add any pre-proof toppings desired. Cover the pan with plastic and proof at room temperature for 3 hours until the dough doubles in size, rising to nearly 1 inch thick.
Preheat the oven to 500°F (260°C) with the rack on the middle shelf. Gently place any pre-bake toppings on the dough.
Place the pan in the oven. Lower the setting to 450°F (230°C) and bake for 10 minutes. Rotate the pan 180 degrees and continue baking for 5-10 more minutes until it begins to turn light golden brown. If using any during-bake toppings, sprinkle them on at this point and continue baking for about 5 more minutes. The internal temperature should register above 200°F (measured in the center).
Remove from the oven and immediately transfer the focaccia out of the pan onto a cooling rack. If the parchment is stuck to the bottom, carefully remove it by lifting the focaccia corner and peeling it off gently.
Allow the focaccia to cool for at least 20 minutes before slicing or serving.
Poolish Method
Remove the poolish from the refrigerator 1 hour before making the dough to bring it to room temperature.
Stir together the flour, salt, and yeast in a 4-quart bowl. Add the oil, poolish, and water. Mix with a large metal spoon until a wet, sticky ball forms. If mixing by hand, repeatedly dip one hand or the spoon into cold water and use it like a dough hook. Do this for 3-5 minutes until smooth and evenly distributed. If using a mixer, switch to the dough hook and mix on medium speed for 5-7 minutes.
Follow the direct method from the stretch-and-fold stage through the counter fermentation.
Line a 17 by 12-inch sheet pan with parchment and proceed with the shaping instructions above, adding any pre-proof toppings at this time.
Loosely cover the pan with plastic wrap. Proof at room temperature for about 2 hours until the dough fills the pan.
About 15 minutes before baking, drizzle on more herb oil (you can use all of it) and dimple it in, as well as any pre-bake toppings. This should fill the pan completely with the dough to about ½ inch thick. Let the dough relax for 15-30 minutes before baking to allow the gas to build back up. It will rise to almost 1 inch.
Preheat the oven to 500°F (260°C) with the rack on the middle shelf. Place the pan in the oven and lower to 450°F (230°C). Bake for 10 minutes. Rotate the pan 180 degrees and continue for 5-10 more minutes until light golden brown. If using during-bake toppings, sprinkle them on now and continue for 5 more minutes. The internal temperature should register above 200°F (93°C).
Remove from the oven and immediately transfer the focaccia out of the pan onto a cooling rack. If parchment is stuck, carefully peel it off. Cool for at least 20 minutes before slicing or serving.
Notes
- Pre-ferment method: The poolish version requires advance planning but yields comparable results to the direct method. Both methods achieve the characteristic honeycomb through long, slow fermentation.
- Pizza and stromboli: This dough makes great pizza (though it’s a bit slack for stromboli or rolled-and-stuffed pizzas). Pizza-style focaccia—small round pies that proof and puff like focaccia but topped intensely—can be made ahead and served cold or lightly reheated.
- Food processor mixing: With hydration over 70%, this dough mixes well in a food processor.
- Raisin focaccia: Omit the herb oil. Add 3 cups or more of raisins during the final 2 minutes of mixing (the dough should be dense with them). Use regular olive oil on top instead of herb oil. Dust lightly with kosher salt or coarse sanding sugar before baking. This creates exceptional raisin bread.
- Crustier version: Reduce the oven temperature to 400°F (205°C) and bake for 10-15 minutes longer for a crustier, chewier result.
- Toppings (pre-proof): Marinated sun-dried tomatoes, olives, roasted garlic, fresh herbs, walnuts, pine nuts, or sautéed mushrooms, peppers, or onions.
- Toppings (pre-bake): High-moisture cheeses (blue, fresh mozzarella, feta), cooked ground meat or meat strips, coarse salt, or sugar.
- Toppings (during-bake): Dry or semihard cheeses (Parmesan, Romano, mozzarella, Jack, Cheddar, Swiss).
See Also
Anadama Bread
100 Percent Sourdough Rye Bread
Basic Sourdough Bread