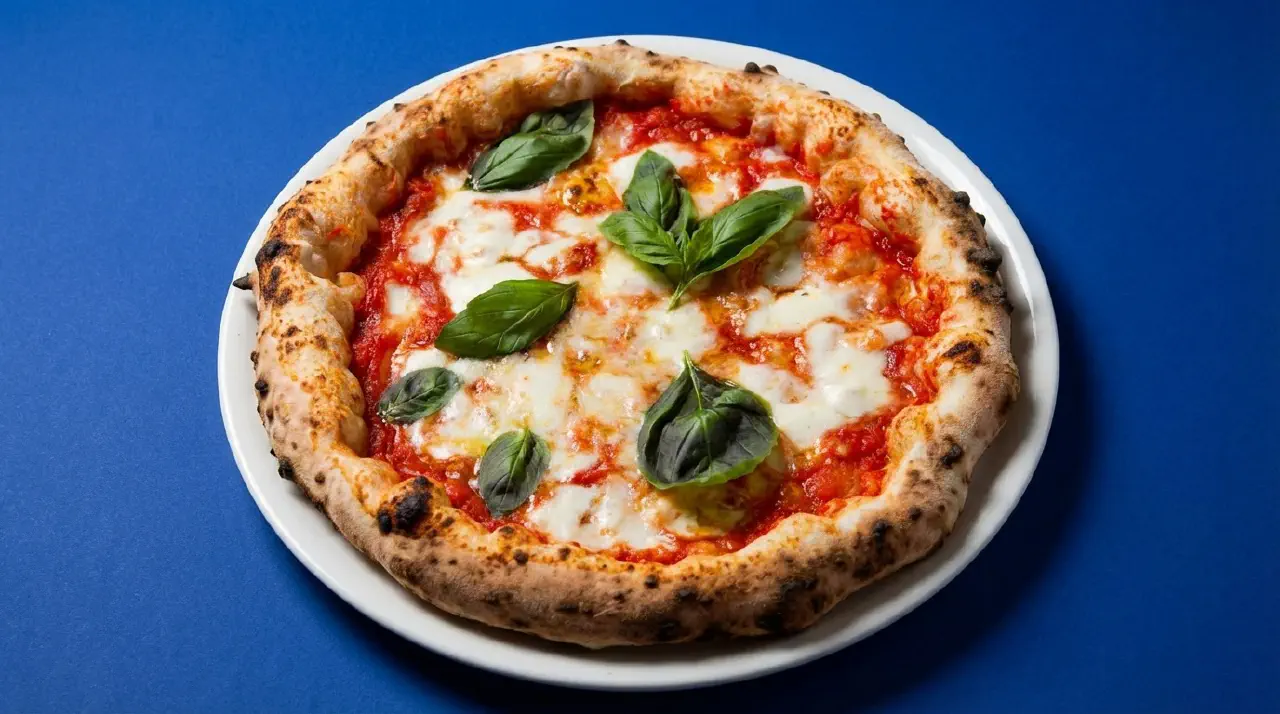
Pizza Napoletana
Pizza Napoletana © kvalifood.com
Authentic Neapolitan pizza from Naples, the birthplace of pizza, featuring a simple dough with a thin, crispy crust and soft interior. This formula uses delayed fermentation and cold water to develop subtle flavors and allows you to make excellent pizza even in a home oven.
Ingredients
Makes 6 6-ounce pizza crusts
- 570 g unbleached bread flour, chilled
- 1¾ tsp (.44 oz) salt
- 1 tsp (.11 oz) instant yeast
- 55 g olive or vegetable oil (optional)
- 400 g water, ice cold (40°F (4°C))
- Semolina flour or cornmeal, for dusting
Directions
Day 1: Mix and Shape
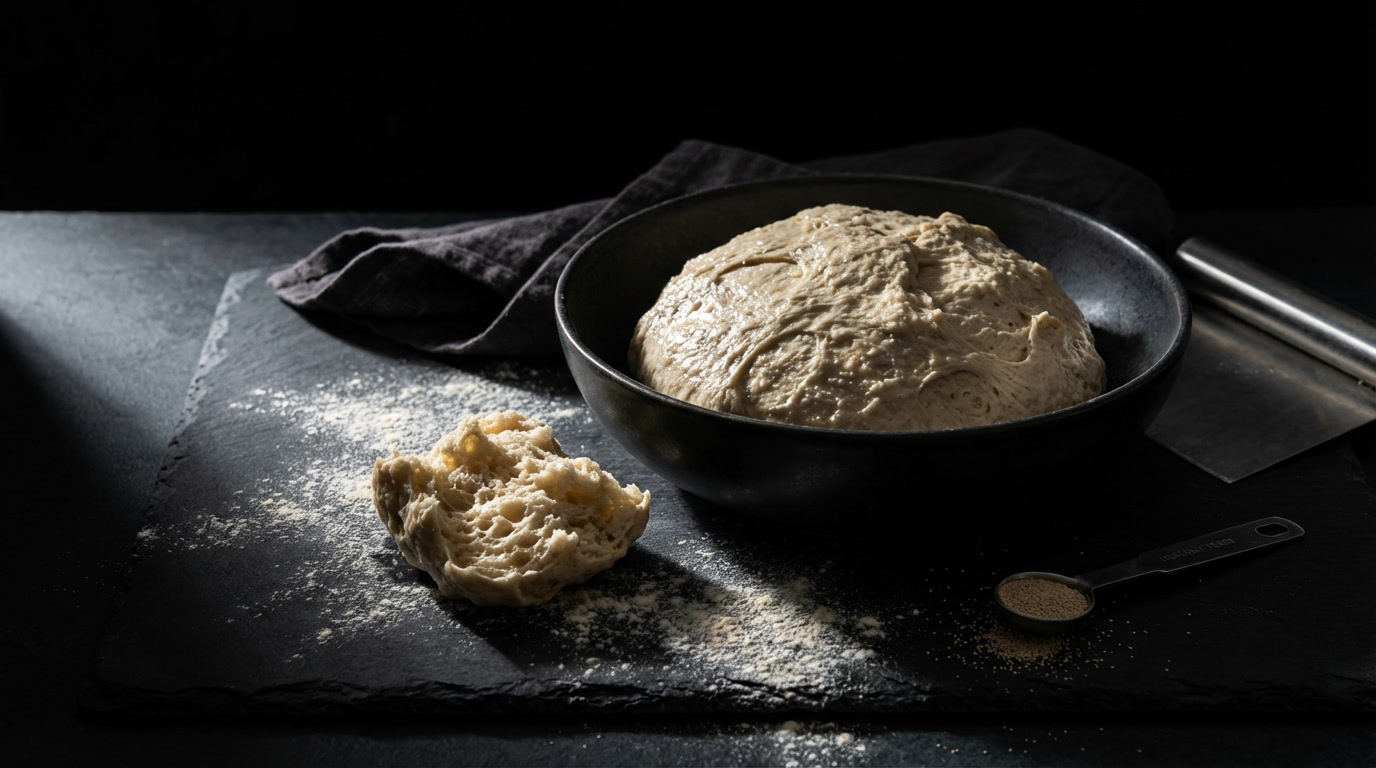
Stir together the flour, salt, and yeast in a large bowl. With a metal spoon, stir in the oil and cold water until all flour is absorbed. If mixing by hand, repeatedly dip one hand or the spoon into cold water and work the dough vigorously into a smooth mass while rotating the bowl with your other hand. Reverse the circular motion a few times to develop the gluten further. Do this for 5–7 minutes until smooth and evenly distributed. If using an electric mixer, switch to the dough hook and mix on medium speed for 5–7 minutes until the dough is smooth and sticky. It should clear the sides of the bowl but stick to the bottom. If too wet and clinging to the sides, sprinkle in a small amount of flour. If it clears the bottom and sides, dribble in a teaspoon or two of cold water. The finished dough will be springy, elastic, sticky, and register 50–55°F (10–13°C).
Sprinkle flour on the counter and transfer the dough. Prepare a sheet pan by lining with parchment and misting the parchment with oil. Using a metal dough scraper, cut the dough into 6 equal pieces (or larger if comfortable shaping big pizzas). You can dip the scraper into water between cuts to prevent sticking. Sprinkle flour over the dough. Make sure your hands are dry, then flour them. Lift each piece and gently round it into a ball, flouring your hands again if the dough sticks. Transfer the balls to the sheet pan. Mist generously with oil and slip the pan into a food-grade plastic bag.
Refrigerate overnight to rest the dough, or keep for up to 3 days. (Optionally, dip balls into a bowl with a few tablespoons of oil, roll to coat, place each in a separate zippered freezer bag, and freeze for up to 3 months. Transfer to the refrigerator the day before baking.)
Day 2: Shape and Bake
Remove the desired number of dough balls from the refrigerator 2 hours before making pizza. Dust the counter with flour and mist with oil. Place the balls on the floured counter and sprinkle with flour; dust your hands. Gently press each into a flat disk about ½ inch thick and 5 inches in diameter. Sprinkle with flour, mist again with oil, and cover loosely with plastic wrap or a plastic bag. Let rest for 2 hours.
At least 45 minutes before making pizza, place a baking stone either on the floor of the oven (for gas ovens) or on a rack in the lower third of the oven. Preheat as hot as possible, up to 800°F (most home ovens reach only 500–550°F (260–288°C), though some go higher). If you don’t have a baking stone, you can use the back of a sheet pan but do not preheat the pan.
Generously dust a peel or the back of a sheet pan with semolina. Make pizzas one at a time. Dip your hands (including the backs and knuckles) in flour and lift one dough piece with a pastry scraper. Very gently lay it across your fists and carefully stretch by bouncing in a circular motion on your hands, giving it a slight stretch with each bounce. If it sticks, lay it on the floured counter, reflour your hands, and continue. Once expanded outward, move to a full toss. If the dough springs back, let it rest 5–20 minutes to relax the gluten and try again. A rolling pin works but is less effective.
When stretched to your satisfaction (about 9–12 inches diameter), lay it on the peel or pan with enough semolina to allow it to slide. Top lightly with sauce and then toppings, using a less-is-more philosophy. Too many toppings make the crust harder to bake. Use no more than 3–4 toppings total, including sauce and cheese.
Slide the topped pizza onto the stone (or bake directly on the sheet pan) and close the door. Wait 2 minutes, then check. If needed, rotate 180 degrees for even baking. The pizza should take about 5–8 minutes to bake. If the top finishes before the bottom, move the stone to a lower shelf. If the bottom crisps before the cheese caramelizes, raise the stone for subsequent bakes.
Remove from the oven and transfer to a cutting board. Wait 3–5 minutes before slicing to allow the cheese to set slightly.
Notes
- Delayed-Fermentation Method: This formula uses the pain à l’ancienne technique with a small amount of oil for tenderness. Oil can be omitted for strict authenticity. Both versions produce excellent pizza dough with natural sweetness and a thin, crisp, golden crust.
- High Oven Temperature: Baking at low temperature ruins the crust—moisture evaporates while browning, leaving a cardboard-dry shell. An extremely hot oven and baking surface are key. The race between browning the crust and melting the cheese is critical; when they converge simultaneously, the result is memorable.
- Ice-Cold Water: Chill 3 cups refrigerator water with 8 ice cubes, wait 2 minutes, then measure 3 cups.
- Cold Flour: Improve the dough by chilling it at least 1 hour before mixing, preferably overnight.
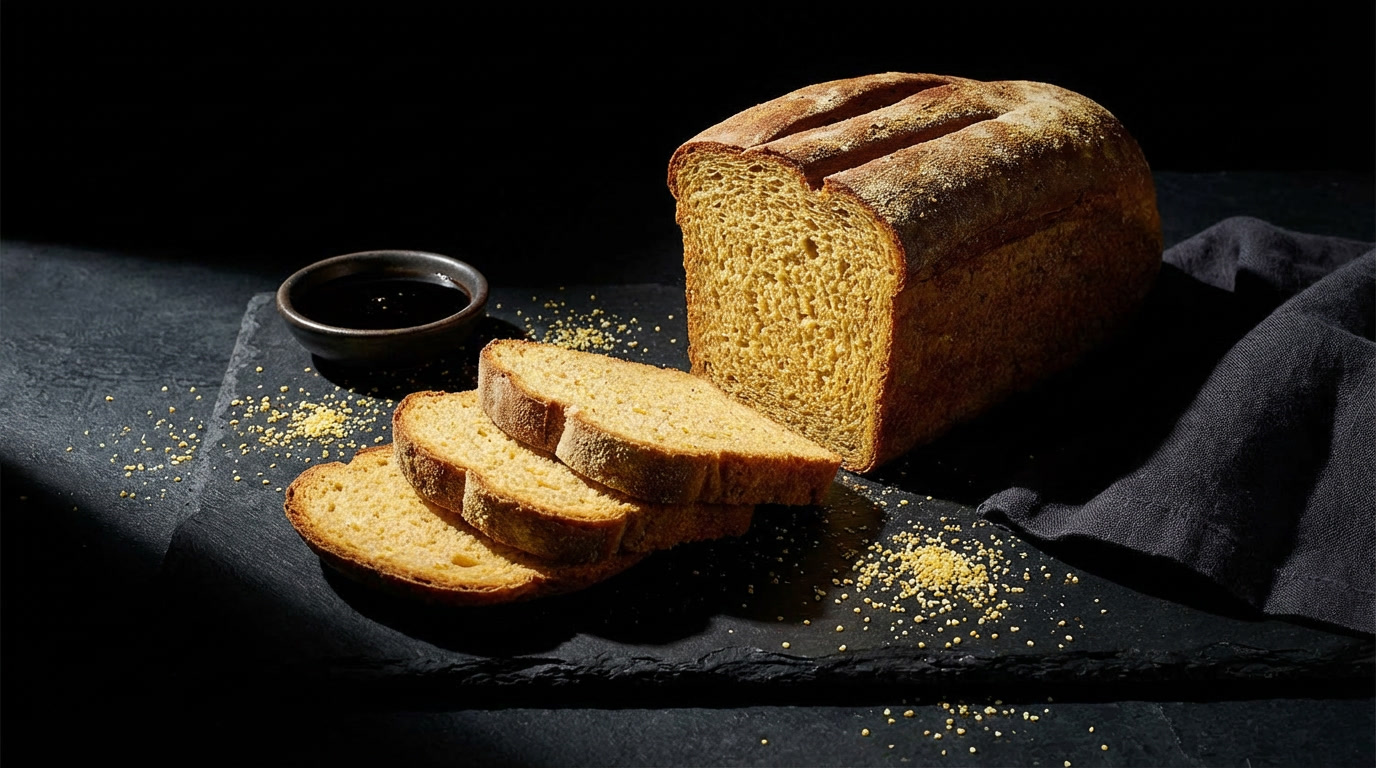
- Rustic Variation: Add about 10% whole-wheat or rye flour, substituting it for an equal amount of white flour, for a peasant-style crust.
- Toppings: Sauce should not be too thick, as it thickens in the hot oven. Red sauce is optional; pesto, white sauce, cheese alone, or fresh clams with garlic oil all work. Use quality ingredients; less is more when executed well.
- Cheese Blend: A mix of 1 part hard cheese (Romano, Asiago, Parmesan, Sonoma dry Jack), 2 parts melter (mozzarella, Monterey Jack, Cheddar, Gruyère), and 1 part optional cheese (blue cheese, etc.), plus dried or fresh herbs and spices (basil, oregano, thyme, pepper, garlic), gives interesting flavor and appearance.
- Crust Edge: An inevitable lip occurs because the edge is thicker and has no sauce to hold it down. Do not crimp to build it up; let it bubble on its own for a light, airy crumb.
See Also
Anadama Bread
100 Percent Sourdough Rye Bread
Basic Sourdough Bread