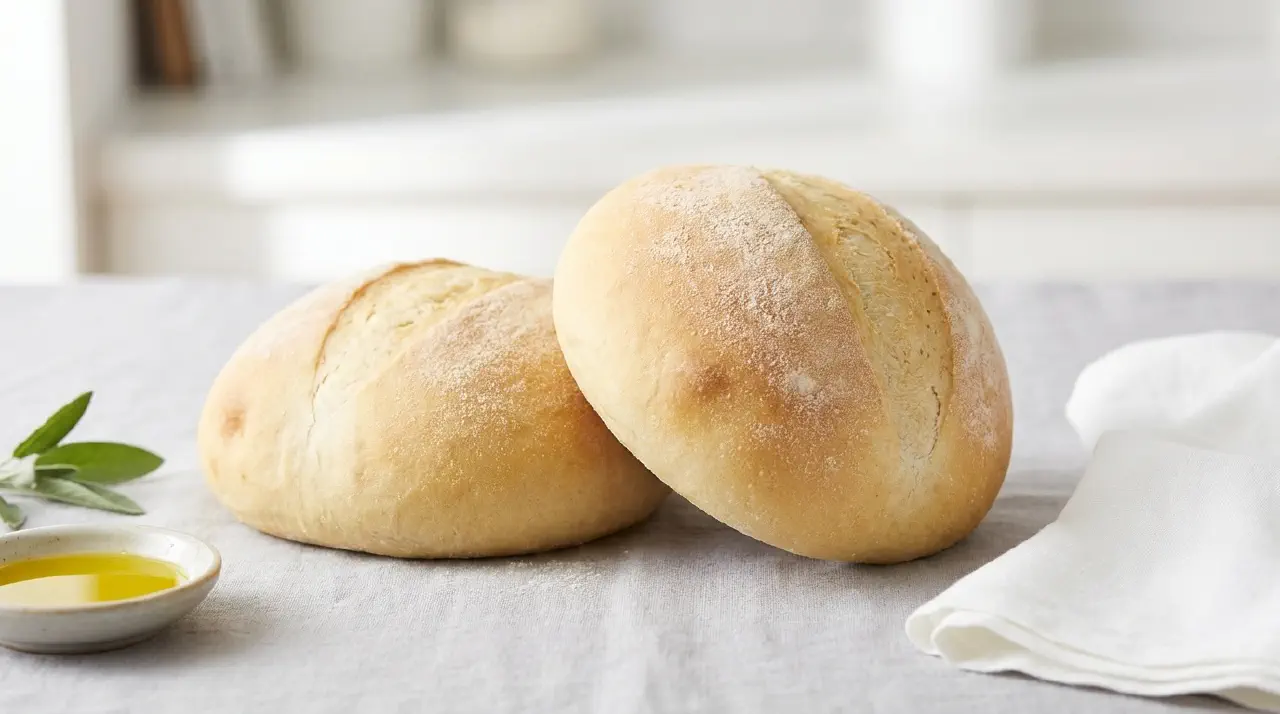
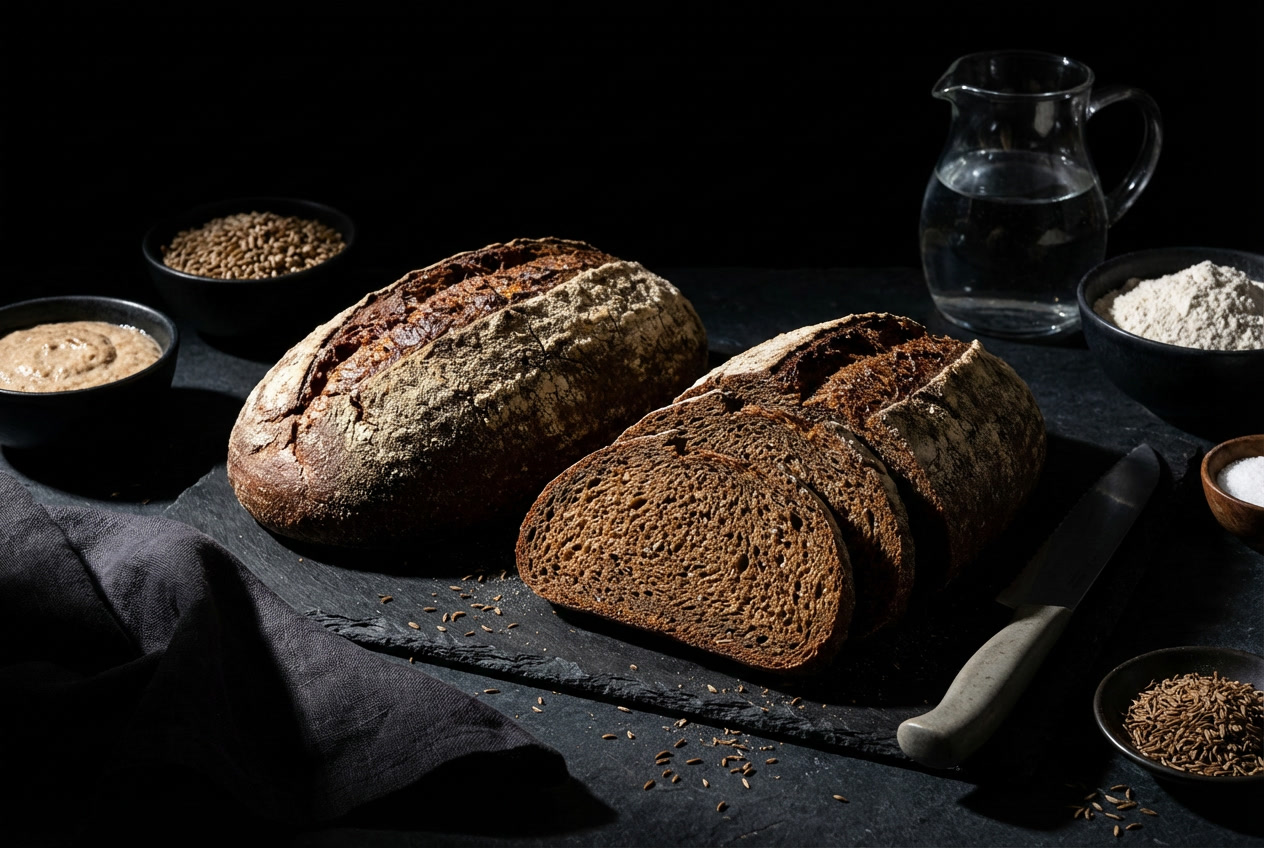
Tuscan Bread
Tuscan Bread © kvalifood.com
A salt-free Italian bread that relies on a cooked flour paste instead of a pre-ferment to develop flavor. The gelatinized starches create a unique taste absent from other breads, making it ideal for salt-restricted diets.
Ingredients
Makes 2 1-pound loaves
Flour Paste
- 400 g boiling water
- 260 g unbleached bread flour
Dough
- 340 g unbleached bread flour
- 8 g teaspoons instant yeast
- 30 g olive oil
- 110 g water, at room temperature
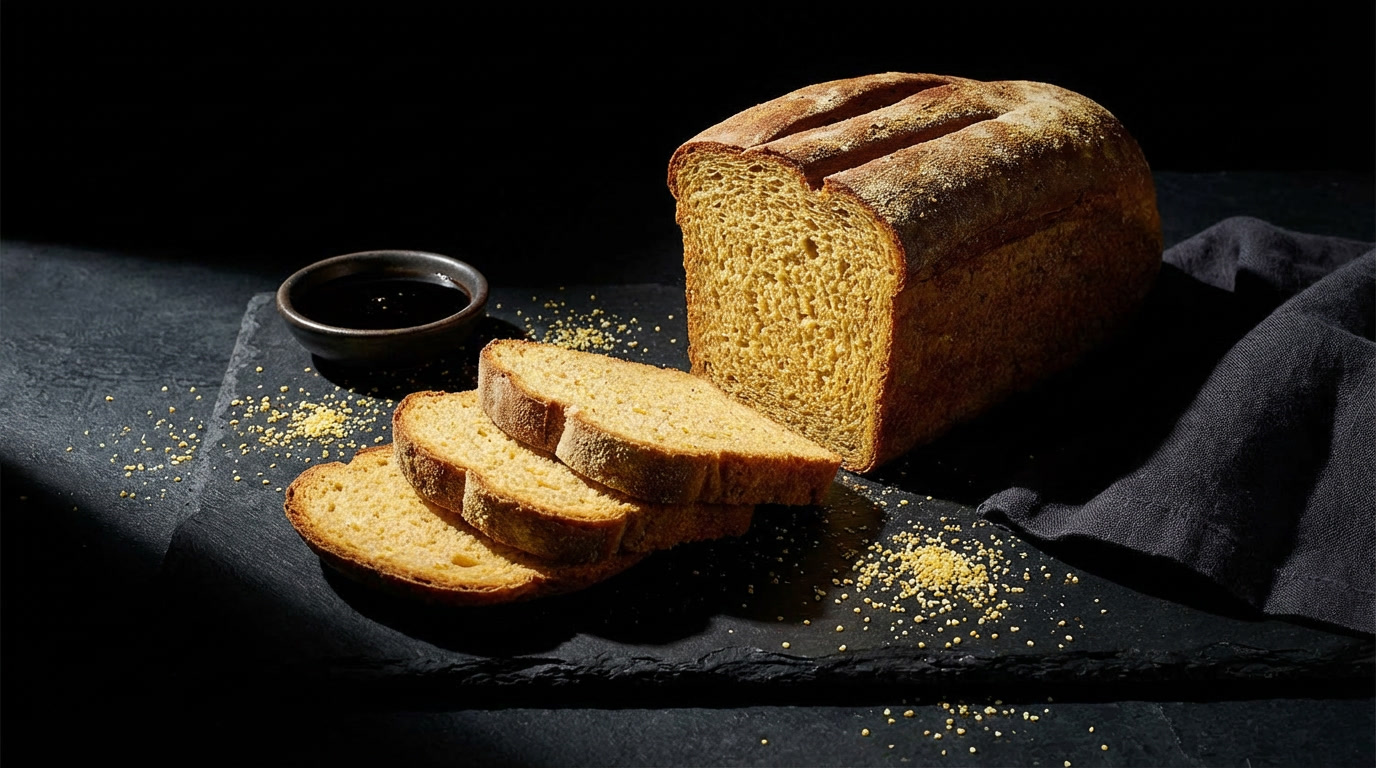
- Semolina flour or cornmeal, for dusting
Directions
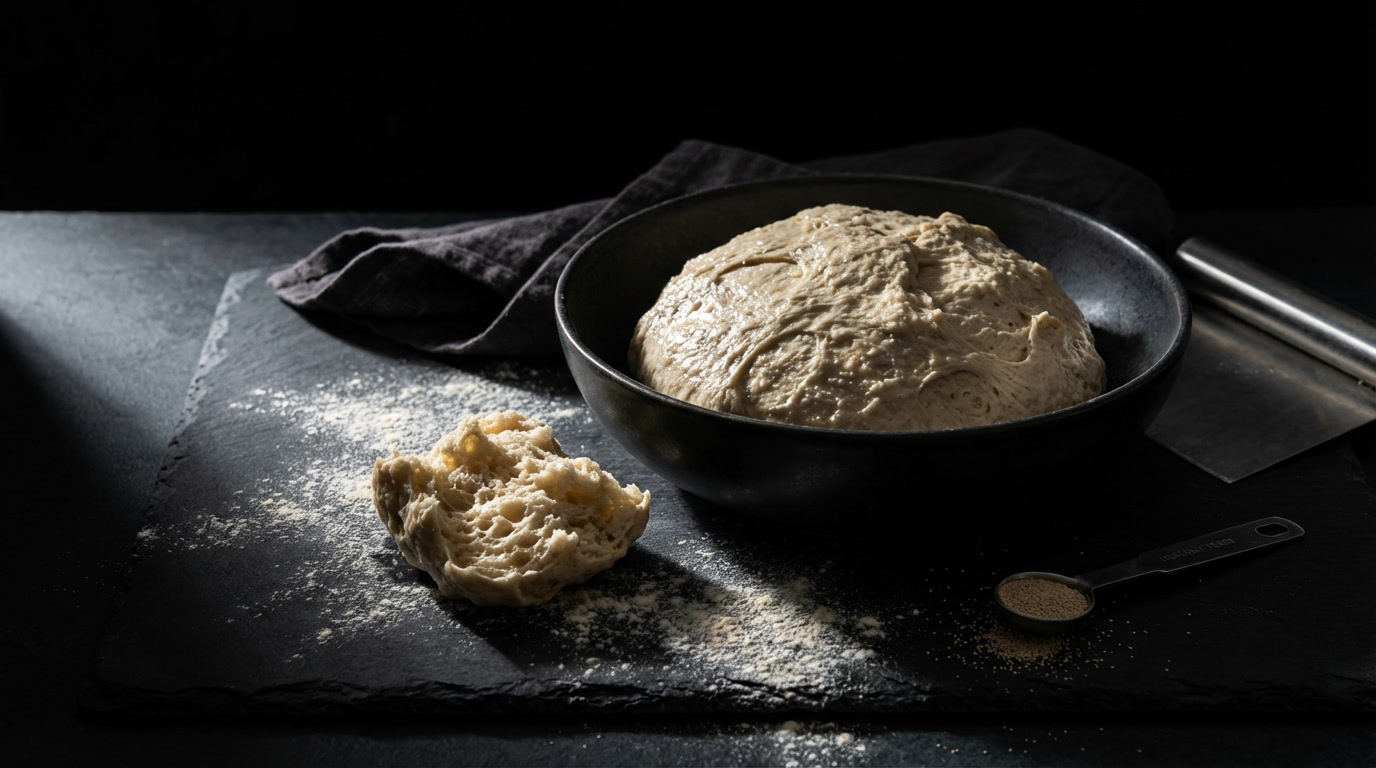
Prepare the paste 1 to 2 days ahead. Pour the boiling water over the flour in a mixing bowl and stir vigorously until the flour is fully hydrated and the mixture becomes a thick, smooth paste. Cool, cover, and leave at room temperature overnight.
The next day: Mix the dough. Using a large metal spoon, stir together the flour and yeast in a 4-quart mixing bowl. Add the paste and olive oil, then stir together, adding water as needed to form a soft, supple ball. The dough may be slightly sticky; additional flour can be added during kneading.
Sprinkle flour on the counter, transfer the dough, and knead by hand for about 10 minutes (or 6 to 8 minutes by machine with a dough hook; rest after 4 minutes of machine mixing if needed). The dough should be tacky but not sticky. Continue adding flour as needed. The dough should pass the windowpane test and register 77°F (25°C) to 81°F (27°C). Lightly oil a large bowl, transfer the dough, and coat with oil. Cover with plastic wrap.
Ferment at room temperature for approximately 2 hours. If the dough doubles in size before then, knead it lightly to degas it and return to the bowl to continue fermenting until 2 hours have elapsed or until the dough doubles again.
Line a sheet pan with parchment and lightly dust with cornmeal or semolina flour. Gently divide the dough into 2 equal pieces (about 18 oz each), being careful to minimize degassing. Form the dough into boules. If baking as rounds, transfer to the prepared pan. For oblong loaves, allow a 15-minute rest, then shape into bâtards and place on the pan. Mist lightly with spray oil and cover loosely with plastic wrap.
Proof at room temperature for 60 to 90 minutes, or until nearly doubled in size. Alternatively, retard the dough by covering the pan and refrigerating overnight. The dough should be nearly ready to bake when removed from the refrigerator. If not, leave at room temperature for a couple of hours.
Prepare the oven for hearth baking with a steam pan in place. Fill the steam pan with 2 cups of water. Preheat the oven to 500°F (260°C). Just before baking, mist the loaves with water and dust lightly with bread flour by tapping flour through a sieve or flinging it across the surface. Score the breads.
Slide the breads directly onto the baking stone with parchment, or place the pan on the middle oven shelf. After 30 seconds, open the door, spray the oven walls with water, and close the door. Repeat spraying twice more at 30-second intervals. Lower the oven temperature to 450°F (230°C) and bake for 10 minutes. Remove the steam pan (be careful not to splash yourself), rotate the loaves 180 degrees for even baking, and continue baking for 10 to 20 minutes longer, or until the loaves turn rich golden brown and register over 200°F (93°C) in the center. If the crust is browning too quickly before the interior reaches temperature, tent with aluminum foil and continue baking.
Transfer the loaves to a rack and cool for at least 1 hour before slicing.
Notes
- Salt-free character: The absence of salt can make the bread taste flat on its own. Serve with flavorful accompaniments such as olive oil for dipping, hearty bean soups, or spreadable cheeses to bring out its potential.
- Flour paste technique: The gelatinized starches released by cooking the flour paste provide a distinct flavor that standard pre-ferments cannot replicate. This technique can be applied to other doughs like Vienna or Italian bread for flavor variation.
- Extra steam: This recipe uses 2 cups of water in the steam pan (rather than the standard 1 cup) to create a moister oven environment, which helps develop a glossy crust.
- Make-ahead option: The dough can be refrigerated after shaping and will be ready to bake (or nearly ready) when removed. This makes it convenient for baking on your preferred schedule.
See Also
Anadama Bread
100 Percent Sourdough Rye Bread
Basic Sourdough Bread