Varme Hveder – Spiced Buns
Varme Hveder © kvalifood.com
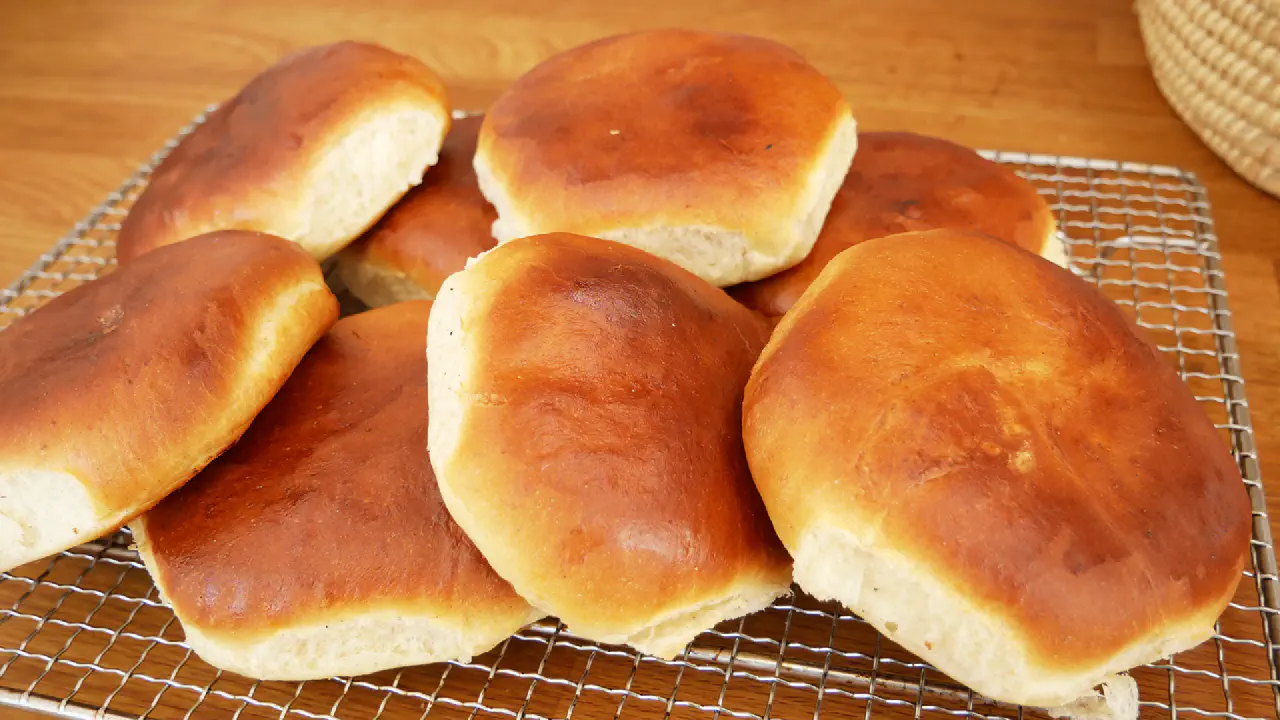
Varme hveder are a Danish tradition tied to Store Bededag (Great Prayer Day), a public holiday. The smell of them baking takes you straight back to childhood. Originally they were made so bakers could take the day off — the buns were meant to be toasted at home and still taste great. That’s still how they’re eaten today.
http://www.youtube.com/watch?v=iBnYsCAIY94Ingredients
Yields 16 buns
- 50 g yeast
- 3 dl milk
- 125 g butter
- 650 g plain flour, about
- 1 egg
- 1½ tsp salt
- 1½ tsp sugar
- 1½ tsp cardamom
For brushing
- ½ dl milk
Directions
Melt the butter.
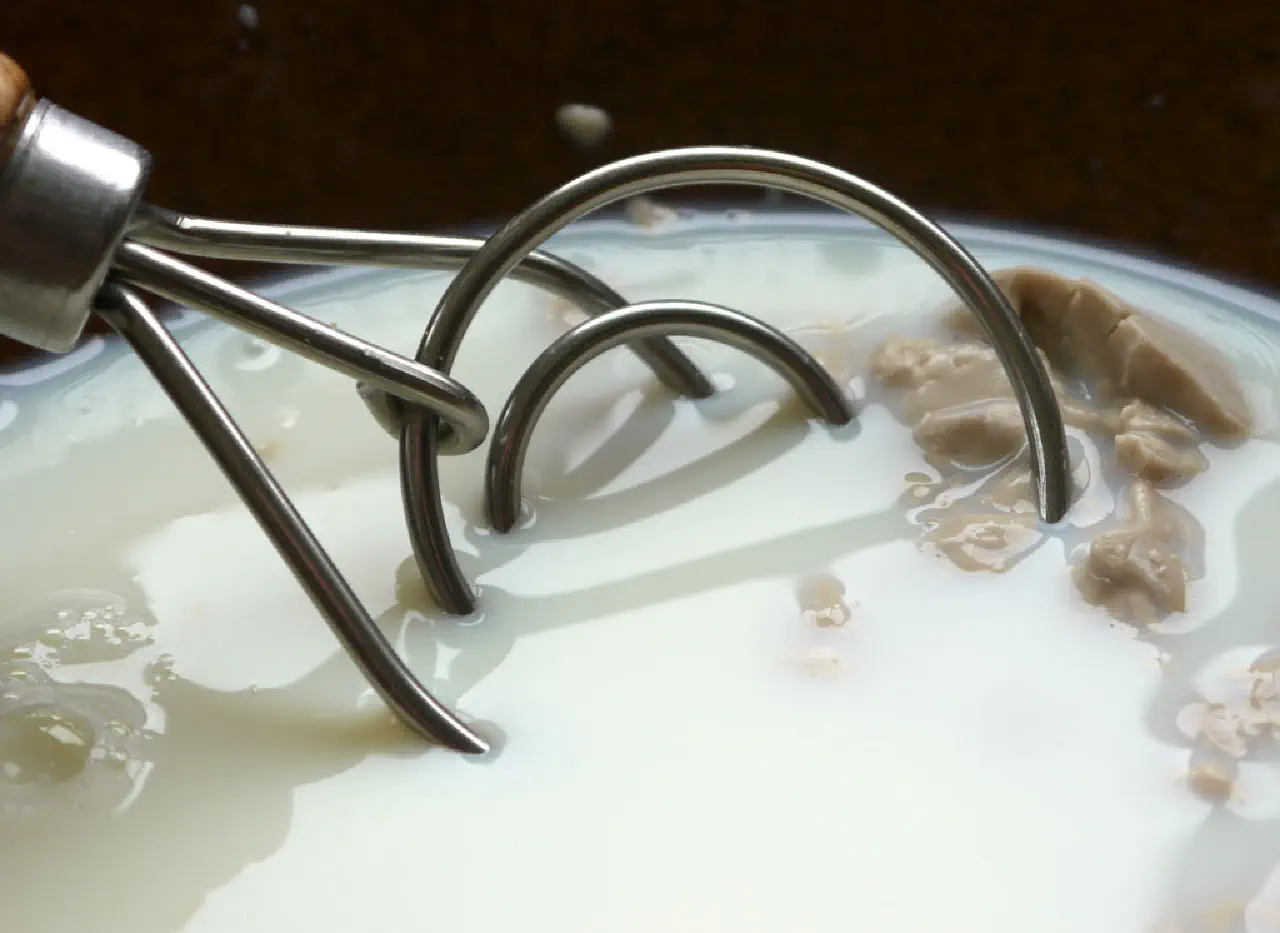
Dissolve the yeast in the milk.
Mix all the ingredients together.
Knead the dough. A good way to start is to use the thin end of a wooden spoon in the bowl — that way you avoid getting sticky fingers.
Turn out onto a lightly floured surface. The dough doesn’t need much kneading, just until it comes together evenly. 5 minutes maximum.
Leave to rise in a covered bowl for 30 minutes.
Divide the dough into 16 pieces. Start by halving it, then halve each piece, and so on.
Shape each piece into a ball by folding the edges in toward the center. Keep going until it is round. This leaves a small hole in the bottom of the ball.
Place them on a greased baking tray, or one lined with baking paper, hole-side down.
Preheat the oven to 390°F (200°C fan).
Leave to proof for 30 minutes. They rise best if covered. If your baking trays fit together, you can stack them like clamshells to cover the buns.
Brush the buns with milk.
Bake for 15–20 minutes until golden.
Leave to cool and store in a plastic bag until ready to eat.
Toast under the oven grill or in a toaster before eating, and serve with butter.
Notes
Some recipes say you can leave out the cardamom, but that’s a mistake in my view. It’s what gives these buns their distinctive aroma.
Scandinavians use more cardamom per person than any other region in the world, and varme hveder are a local specialty for exactly that reason.
You can use a smaller baking tray, or pack the buns more tightly, so they nearly touch after proofing. They’ll push against each other as they rise and bake, giving them more height and the traditional square “hvede shape.” Personally I don’t mind either way.
The milk brush serves two purposes: it makes the crust more elastic so the buns can rise more easily, and it helps them brown faster.
Hveder also make excellent burger buns. If that’s the plan, roll them flat with a rolling pin after shaping.
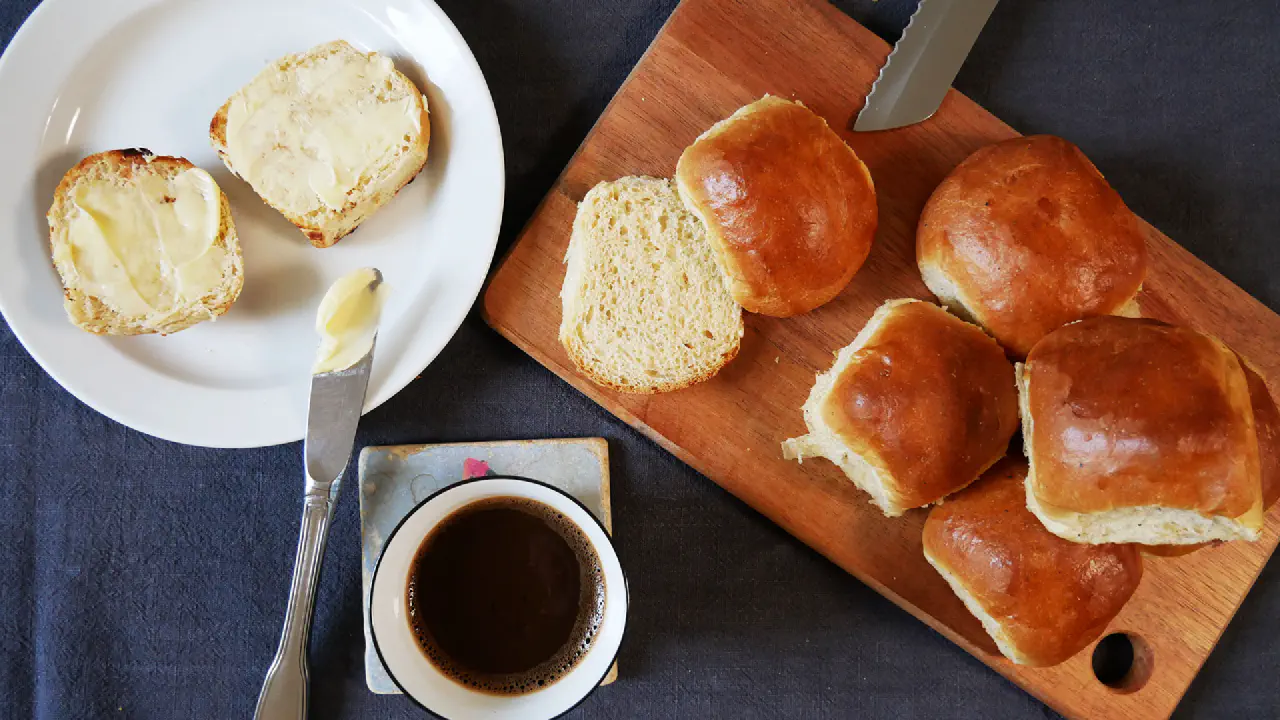
Hveder with butter and coffee © kvalifood.com
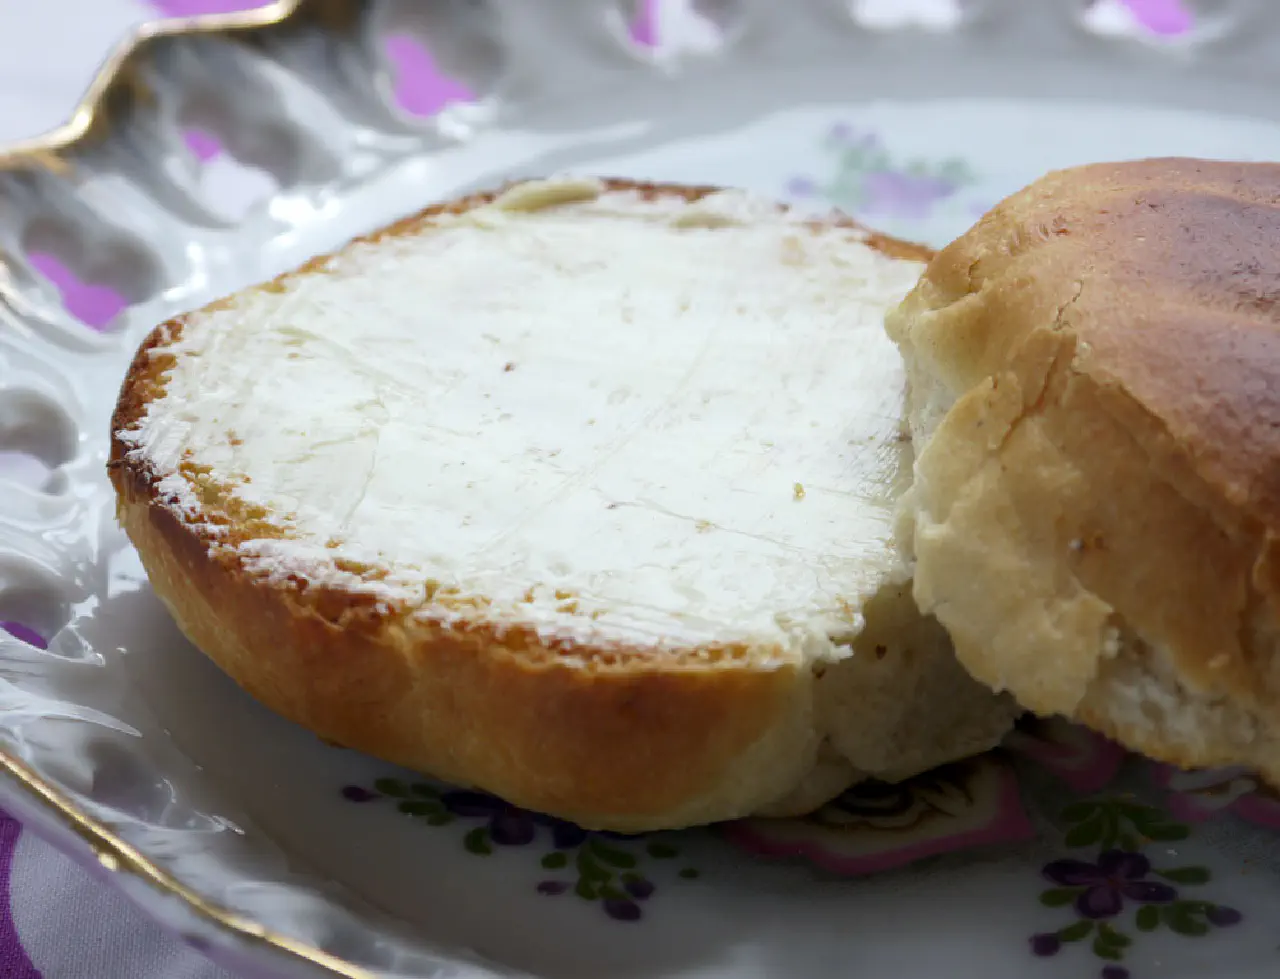
Warm hvede with butter © kvalifood.com
Burger buns © kvalifood.com
Dissolving the yeast in the milk © kvalifood.com
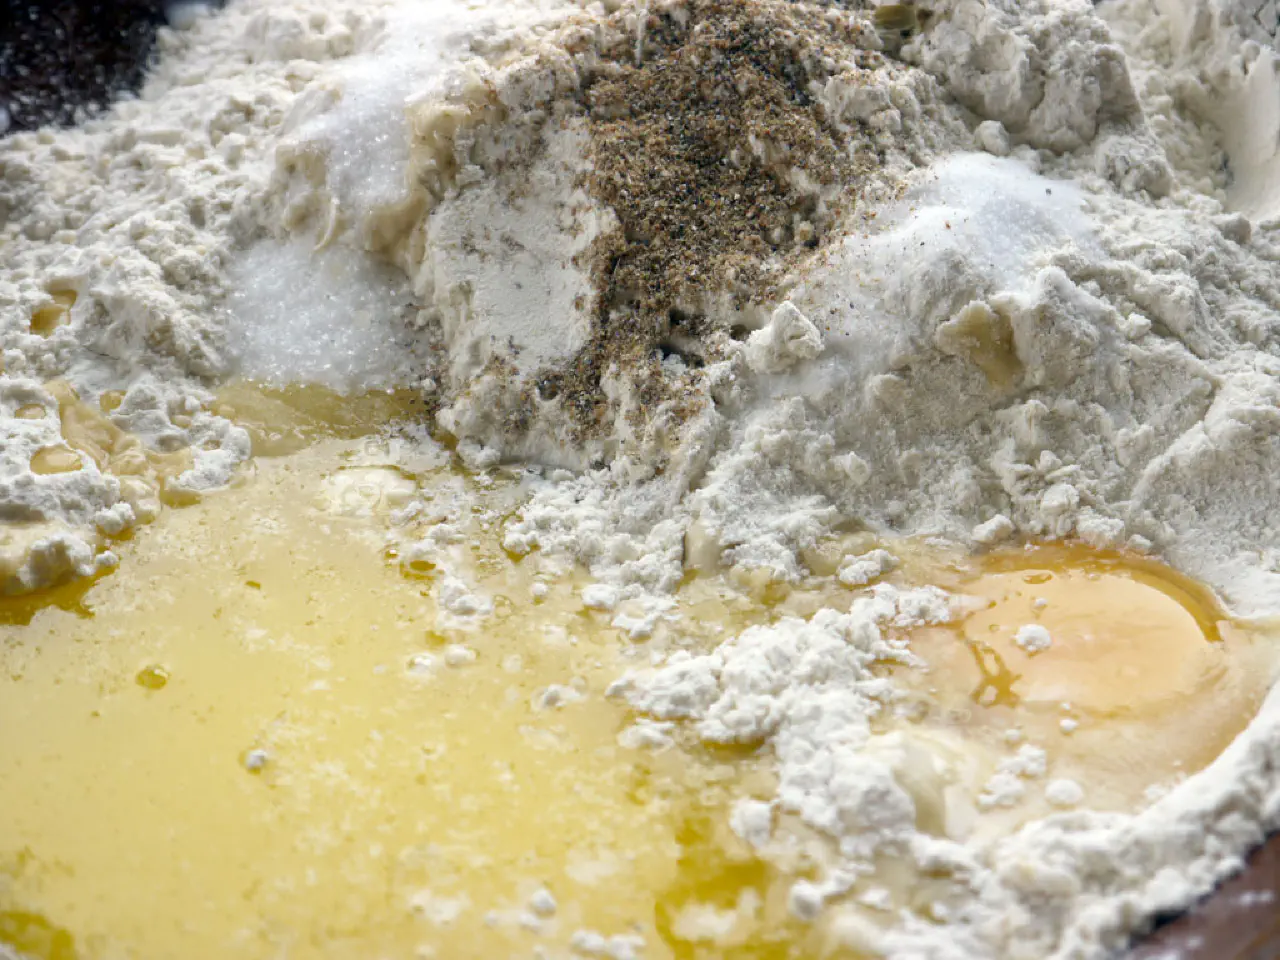
Adding the remaining ingredients © kvalifood.com

The dough rising covered — before and after © kvalifood.com
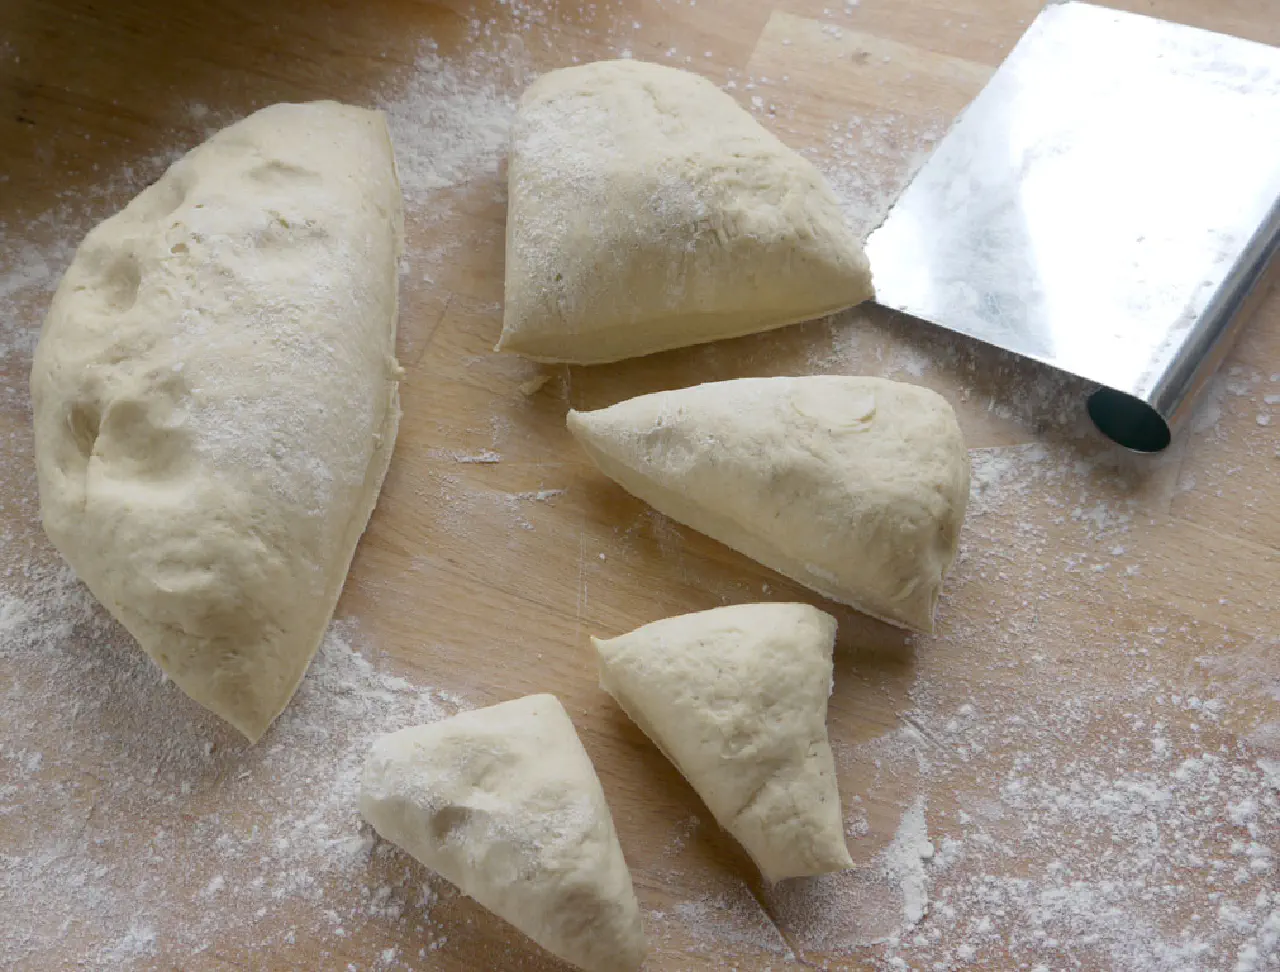
Dividing the dough into 16 pieces by repeatedly halving © kvalifood.com
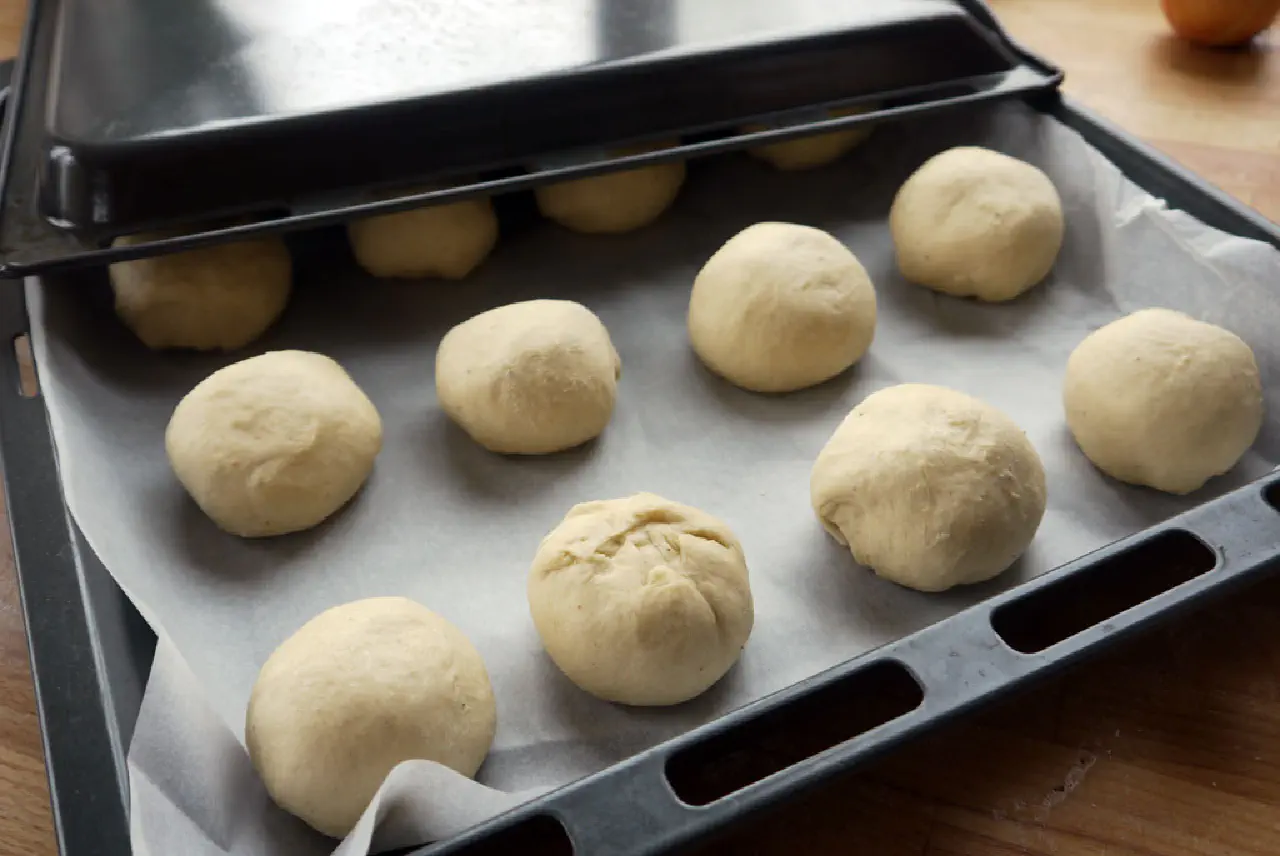
16 pieces shaped into balls — spot the one that’s upside down — proofing under a lid © kvalifood.com
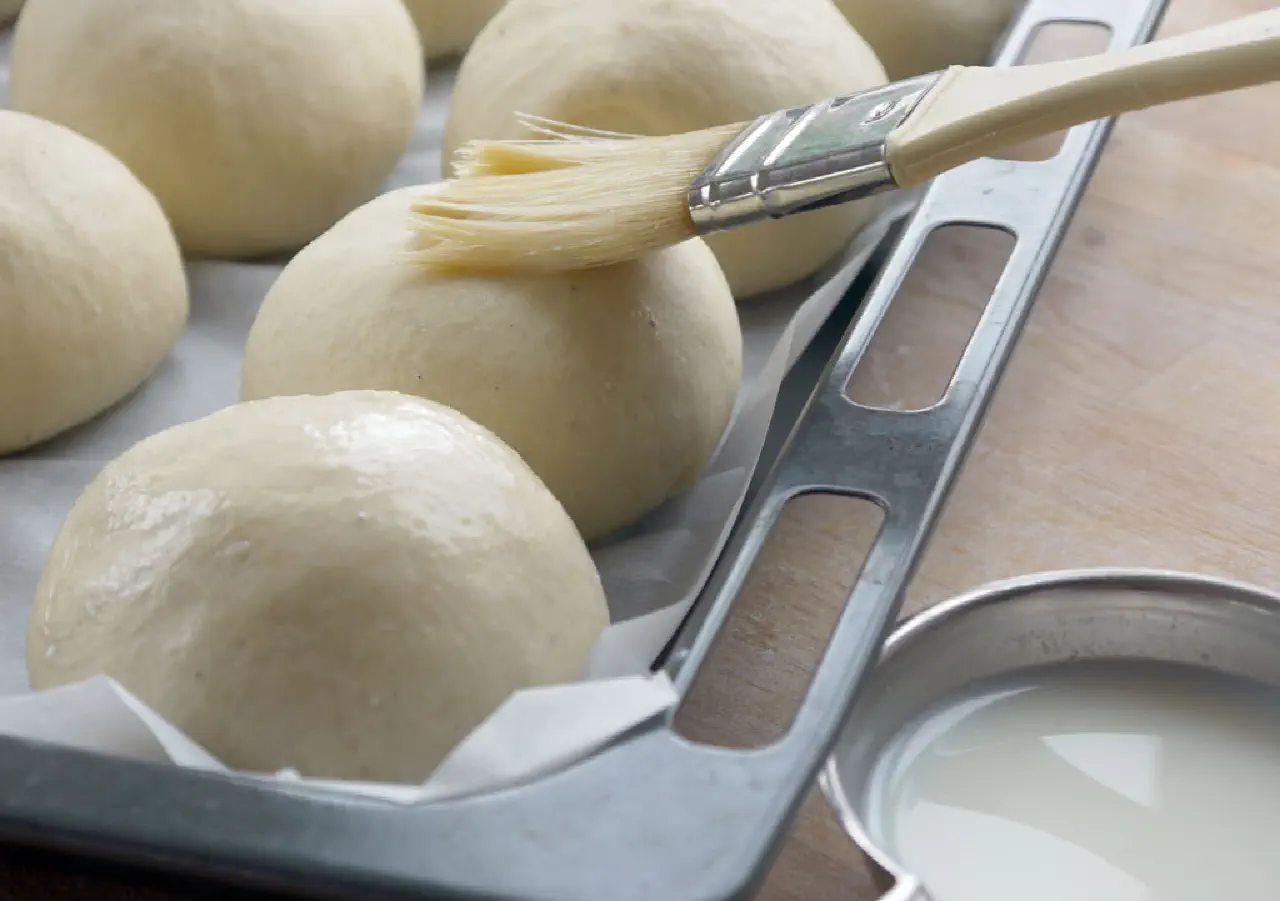
Brushed with milk just before going in the oven © kvalifood.com
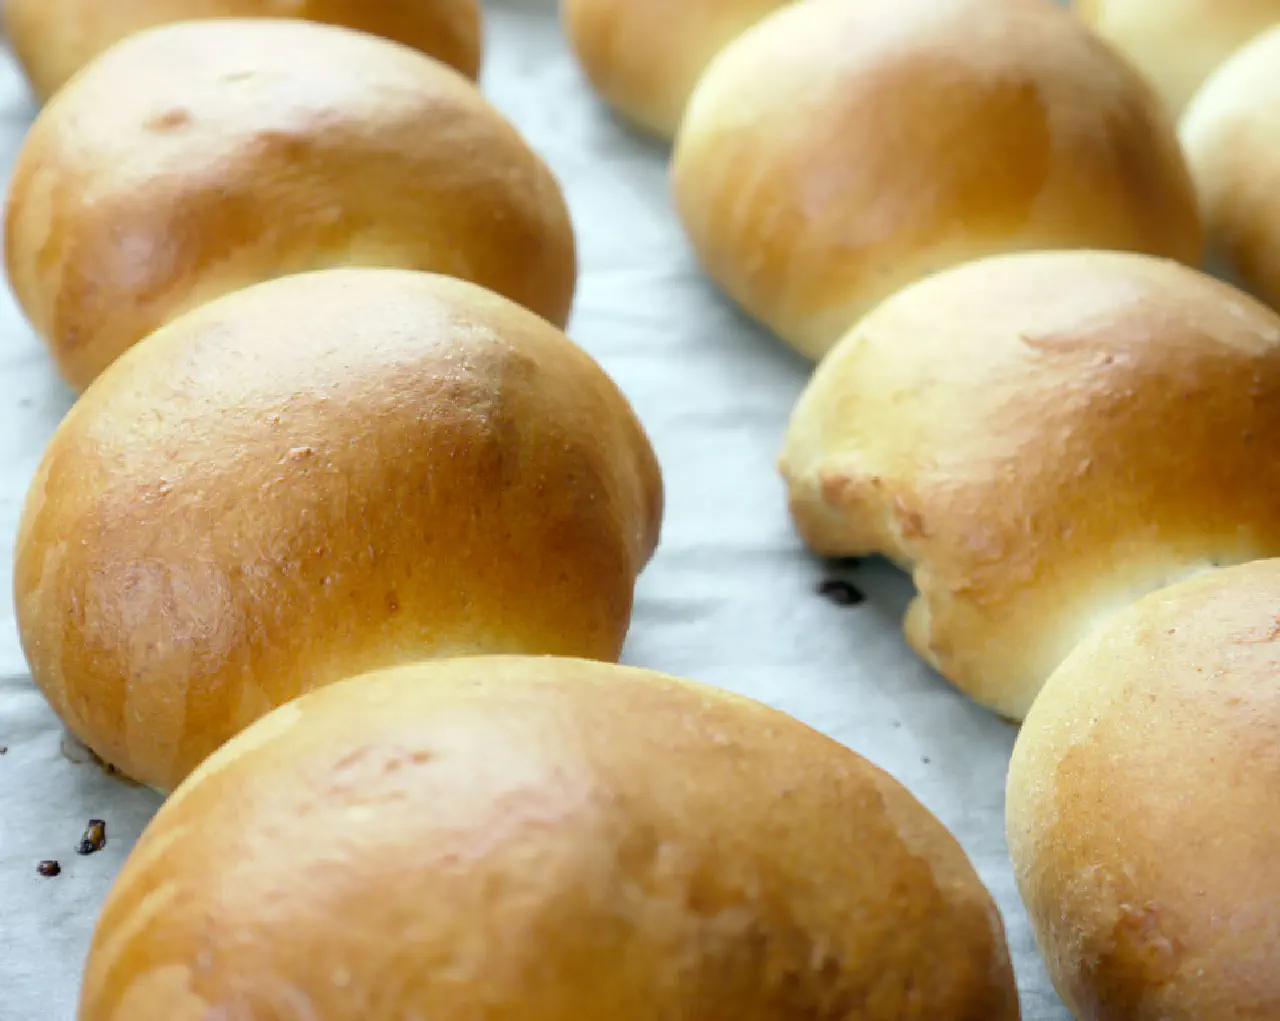
Fresh out of the oven and ready for Store Bededag © kvalifood.com
See Also
Cinnamon Rolls
Classic White Bread with Single Rise
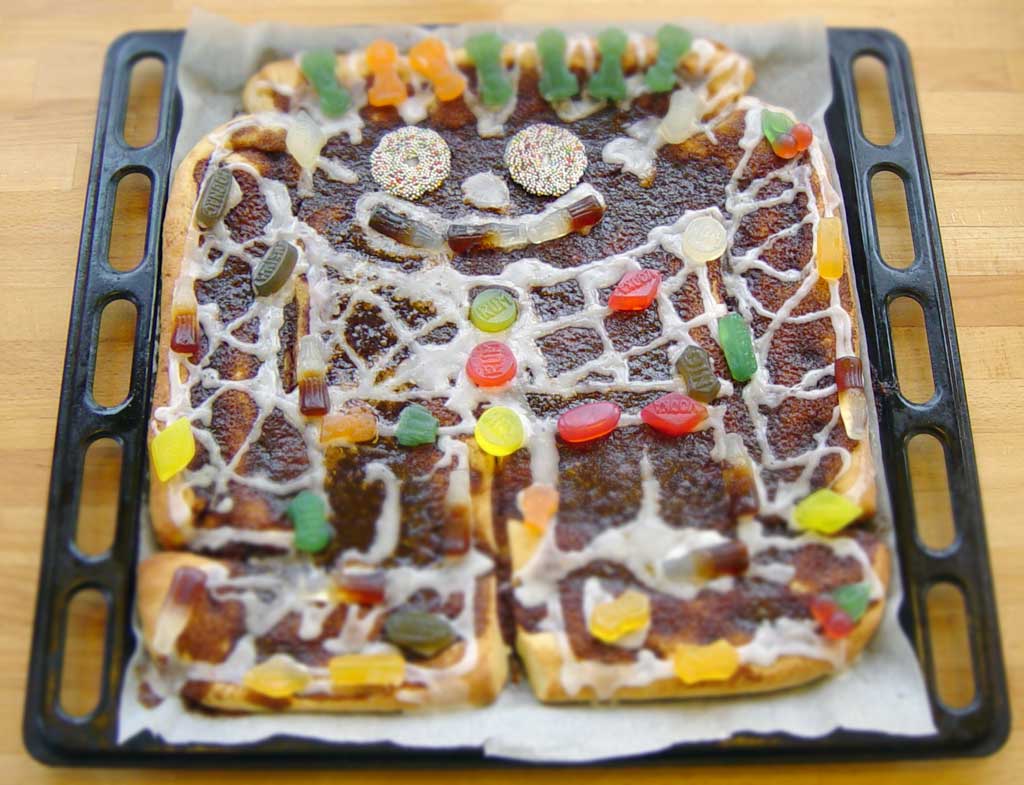
Kagemand - Danish Cake Man, Rolls, and Cinnamon Rolls
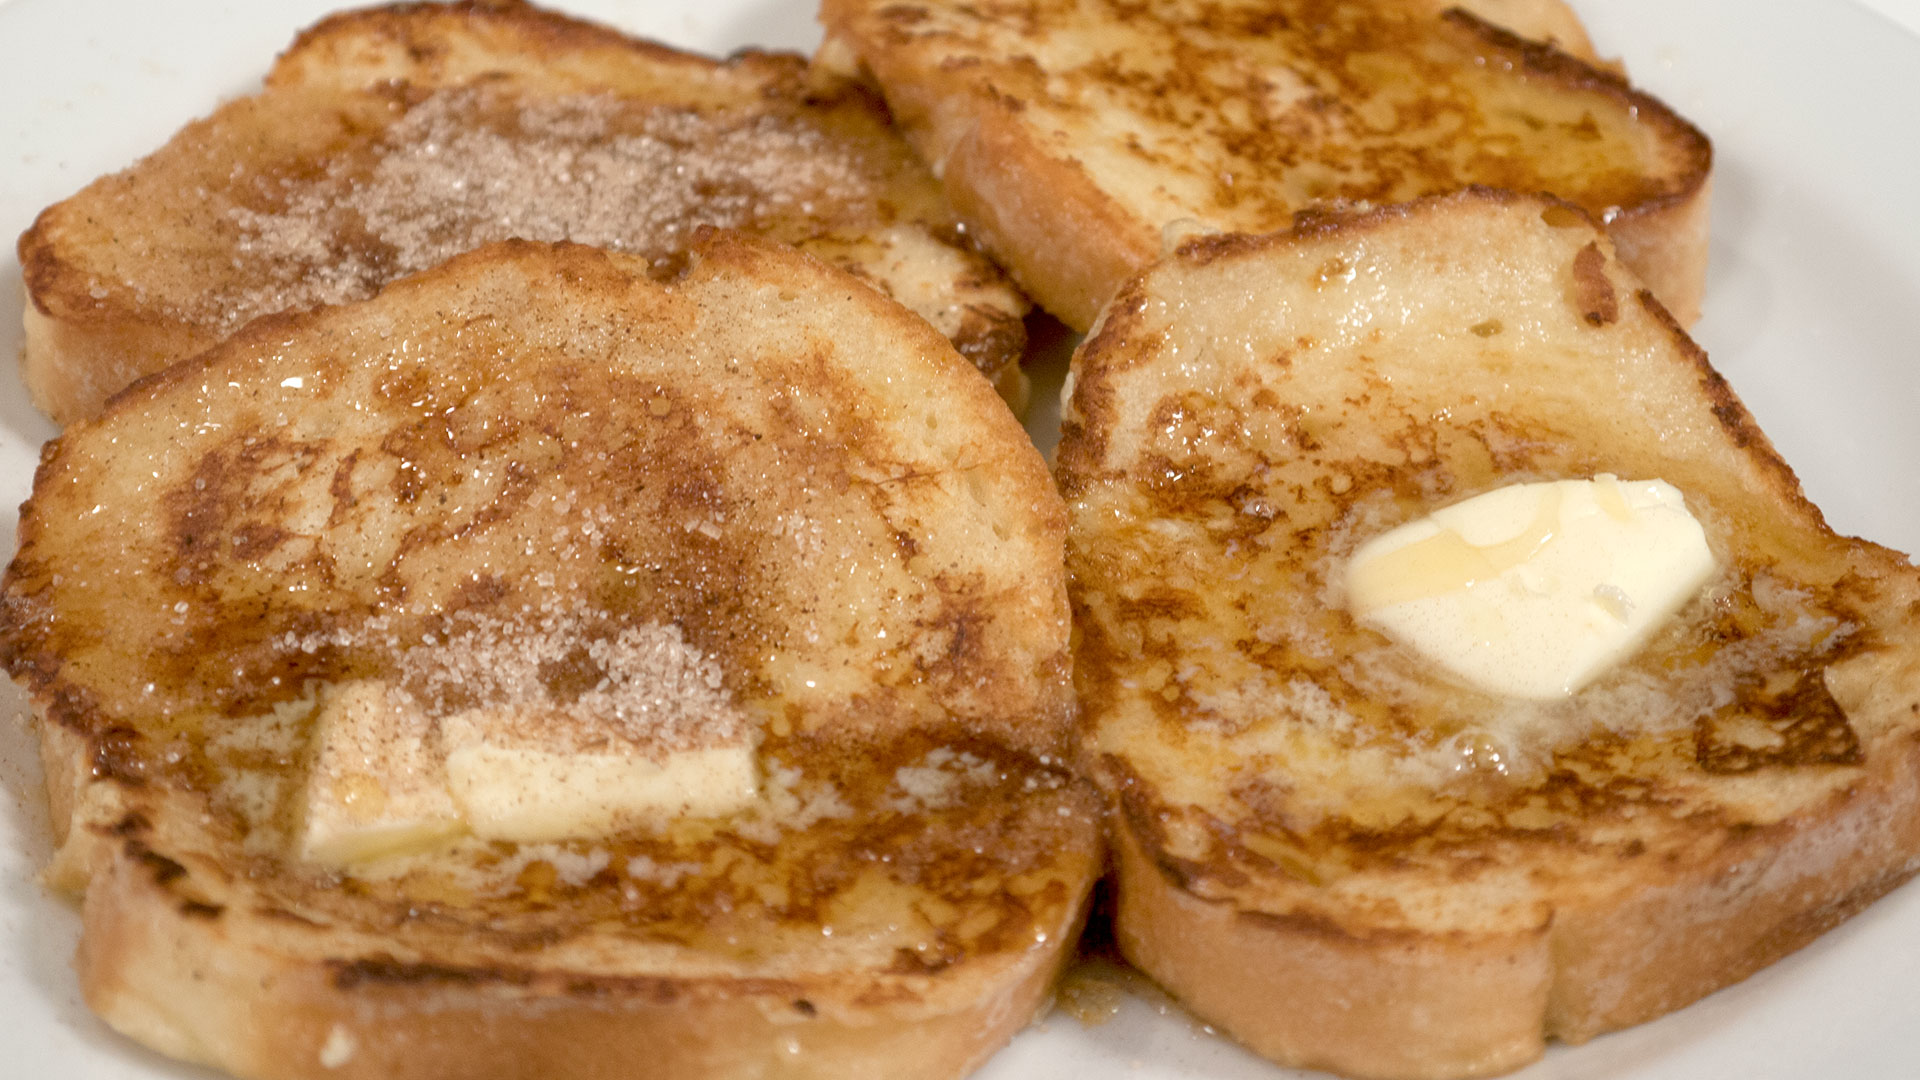
Poor Knights