Kransekage (Ring Cake)
Kransekage up close © kvalifood.com
Kransekage is one of the finest cakes there is. We have it often on New Year’s Eve and at weddings, confirmations, milestone birthdays and the like. That’s largely because my father-in-law Kurt bakes the best kransekage I’ve ever had. I got him to give me the recipe and show me how it’s done. So this is his recipe.
Ingredients
The kransekage dough
- 1000 g baking marzipan (Odense Kranse XX) or regular marzipan
- 210 g sugar
- 210 g icing sugar
- 110 g egg white (approx. 4 whites)
Greasing the rings
- 50 g melted butter
- 100 g breadcrumbs
For rolling
- 100–200 g icing sugar
Icing
- 100 g icing sugar
egg white
Directions
Important: the egg whites must be weighed as precisely as possible.
Mixing by machine
Break the marzipan into smaller pieces and add them one at a time.
Add the sugar and egg whites.
Mix until the dough is uniform. It doesn’t improve with prolonged kneading.
Mixing by hand
Grate the marzipan on a coarse grater, or cut it into slices about ½ cm thick with a knife. It doesn’t need to be neat — just hold the marzipan over the bowl and shave away as if you were whittling a piece of wood.
Mix the sugar into the grated marzipan and distribute it evenly without letting it clump.
Add the egg whites.
Knead well by hand.
Both methods
The dough is ready as soon as it is uniform and sticky. Hold back a little egg white if it’s too sticky. It should cling to your fingers and be fairly soft but not stick fast.
Preparing the ring moulds
Pass some plain light breadcrumbs through a sieve to remove large pieces and lumps. Put them in a large wide bowl.
Brush the moulds with a thin layer of melted butter.
Sprinkle plenty of breadcrumbs over the moulds, then tip them upside down so the excess falls back into the bowl and can be reused.
The moulds only need to be covered with a thin layer.
Rolling the ropes
Divide the dough into 8 portions of 190 g each.
All portions must be rolled into ropes that are as even as you can possibly make them, and exactly 80 cm long. Use a tape measure, ruler or similar.
This gives each rope a thickness of about 1½ cm, and all the ropes end up at least equally thick.
You don’t need to roll all 8 pieces out at once — you can do it as you go, leaving more room on the worktop for the moulds.
Dust a thin layer of icing sugar on the surface so the dough doesn’t stick.
Roll by spreading your fingers as wide as possible, then roll from the heel of your hand to your fingertips, using as light a pressure as you can manage.
If there are thick spots in the rope, press a little harder there.
Remember: you can always knead it back together and roll it out again.
Shaping the rings
Lay one end of the rope into the mould and work your way around while filling it.
When you have gone all the way round, cut the rope at a diagonal. This gives a neater and more secure join than a straight cut.
Press the ends down over each other so they hold together well.
Finally, you can neaten all the joins by wetting your fingers and smoothing them out. Don’t worry if it doesn’t go perfectly the first time.
If you run out of rope in the middle of a ring, just start a new rope. It doesn’t matter much if some rings are joined in two places — icing hides many sins 😛
Use a chopping board or similar to press the rings gently together at the top so they are all the same height. This looks tidy, and making them flat on top makes them easier to stack.
If you have a little dough left over at the end, shape it into a ball to go on top.
Bake the rings at 390°F (200°C) top and bottom heat for about 15 minutes.
Do not use fan/convection — the rings easily end up unevenly browned and burnt.
They should be a good golden colour. Unless your oven heats very evenly, it’s a good idea to turn the baking tray after 10 minutes.
Once baked, loosen them carefully with a thin palette knife. Place your fingers spread across the ring and twist gently. If they crack, don’t panic — just press them back together. They will “fuse” as they cool. Small cracks can also be hidden later with a little strategic icing.
Once they have cooled a bit more, transfer them from the moulds by sliding them onto your worktop, a baking tray or similar. Whatever you do, do NOT tip the moulds upside down — that is the surest way to break them.
Brush off any loose breadcrumbs with an unused washing-up or pastry brush.
Freezing
Kransekage is at its best if it has been frozen. So freeze it now and keep it frozen until you need it — up to 3 months is no problem. Just wrap it in plastic so no air gets in or out.
Use a piping bag with a very fine nozzle.
Make cornets from semicircles of baking paper and fill with the icing.
Snip a small hole in the tip — err on the side of too small rather than too large.
Decorate the kransekage with a wave pattern.
Notes
It is important to be precise when measuring the ingredients. Otherwise it is hard to get the rings to an even thickness, which means they risk baking unevenly — and it looks sloppy.
There are two ways to make kransekage: the “piped” version and the “baked in rings” version. Baked in rings is by far the better method, and actually the easier one — though it does require the ring moulds. But they are worth the money.
Piped kransekage uses a slightly firmer recipe that lets you shape the rings by hand.
If you’re a skint student, learning to bake kransekage is a great idea. The ingredients cost around 150 DKK, whereas buying one from a bakery runs 800–1,000 DKK. If you’ve got a smart occasion coming up, you can give the kransekage as a gift — it’s always a huge hit.
I’m not sponsored by Odense Marcipan, but the Kranse XX really is good. It’s a marzipan made mostly from apricot kernels, which makes it firmer for baking. You’ll probably need to order it online.
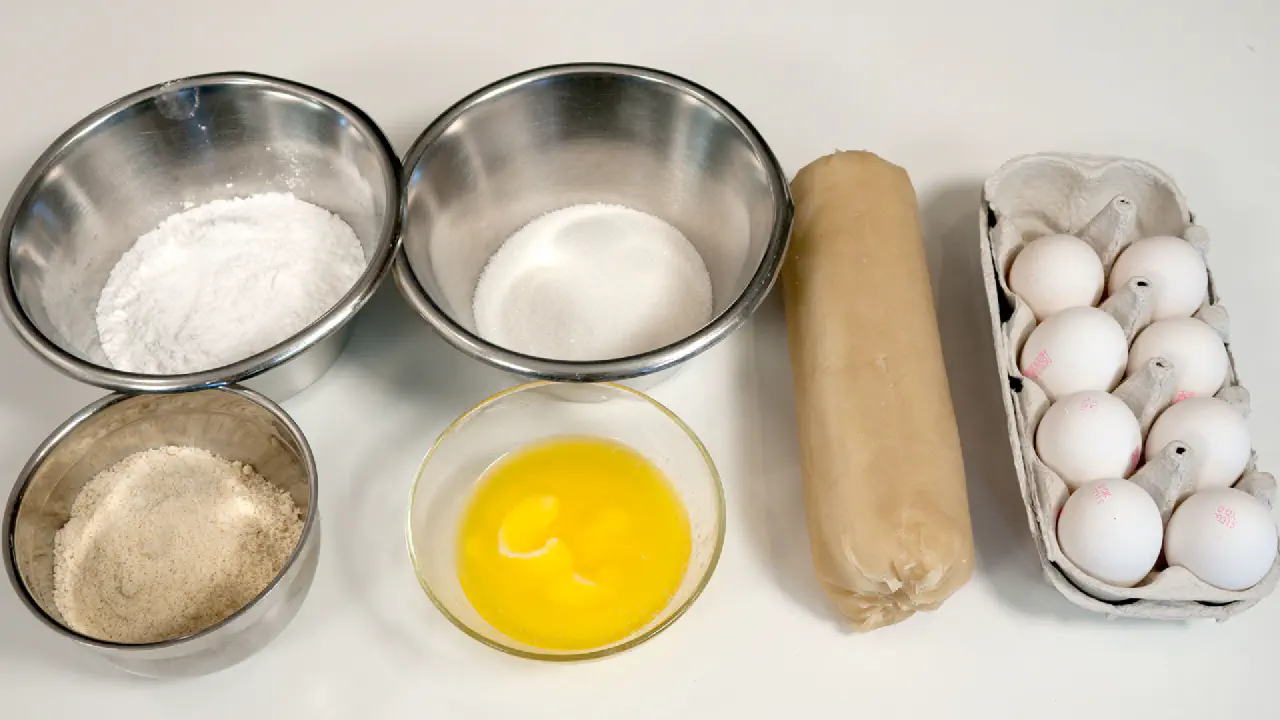
Ingredients for the kransekage © kvalifood.com
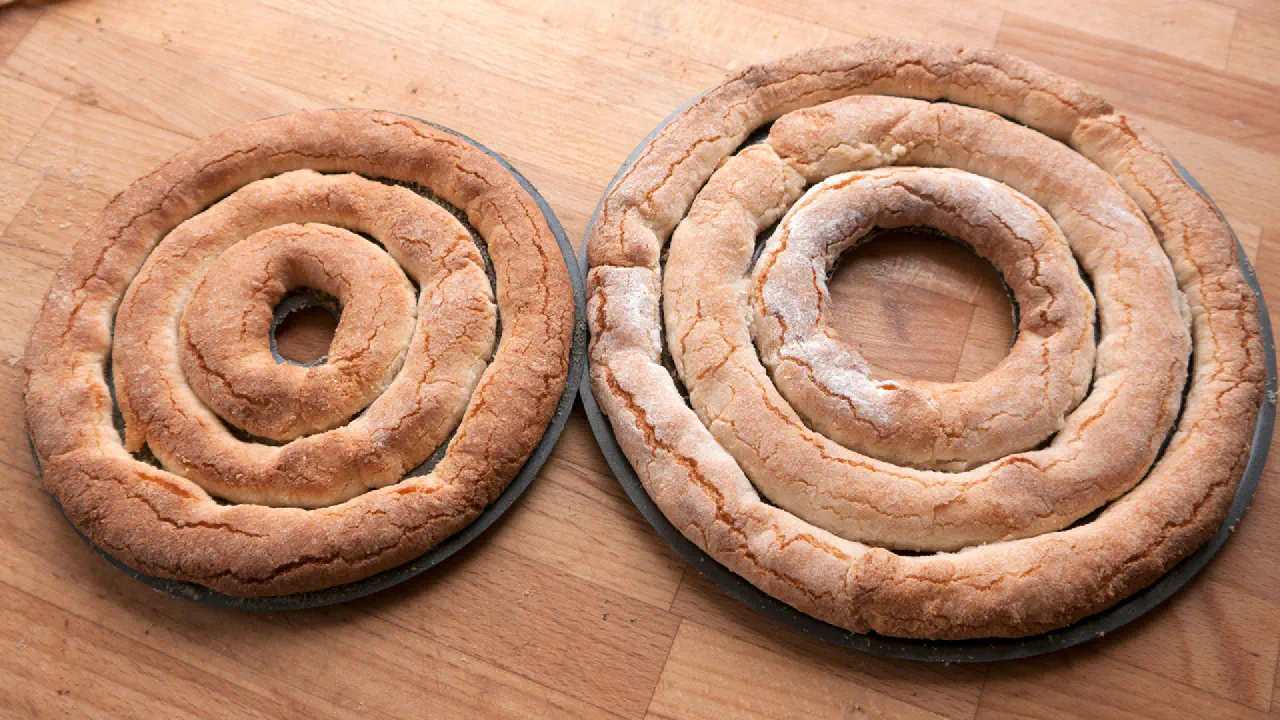
This is how small the difference is between a ring that’s underbaked and one that’s just right. The one on the left is how it should look. © kvalifood.com
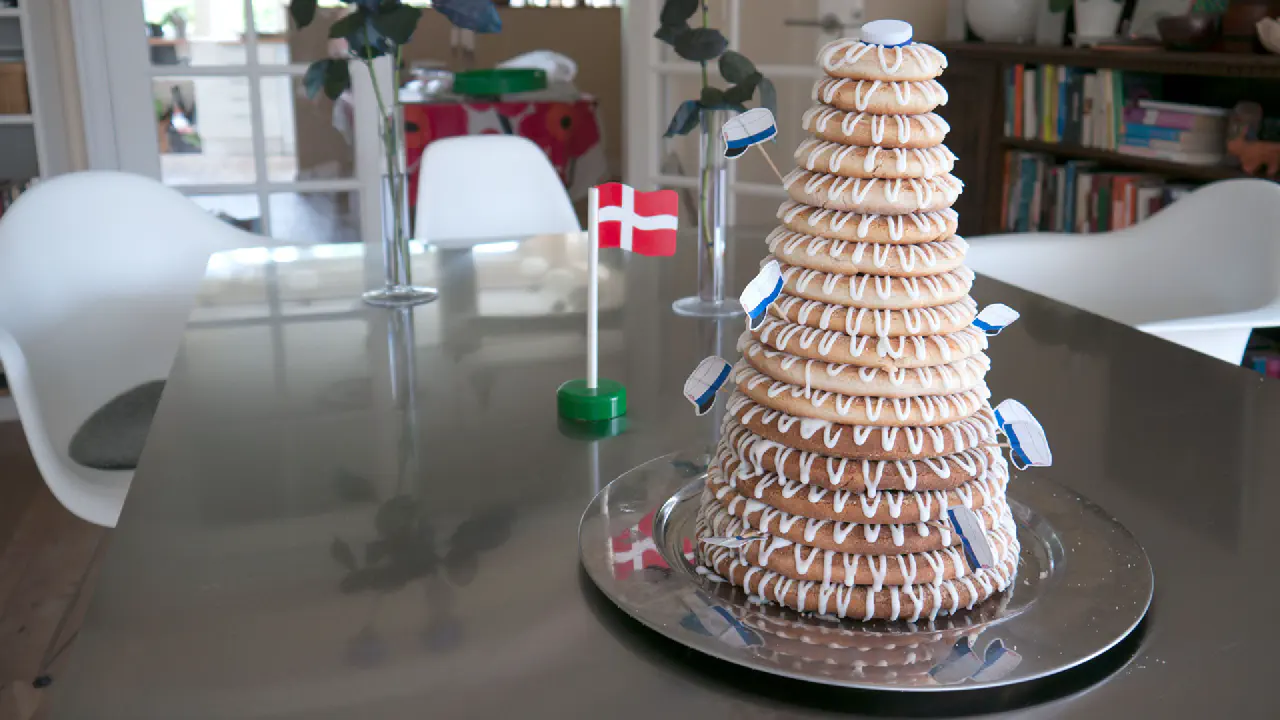
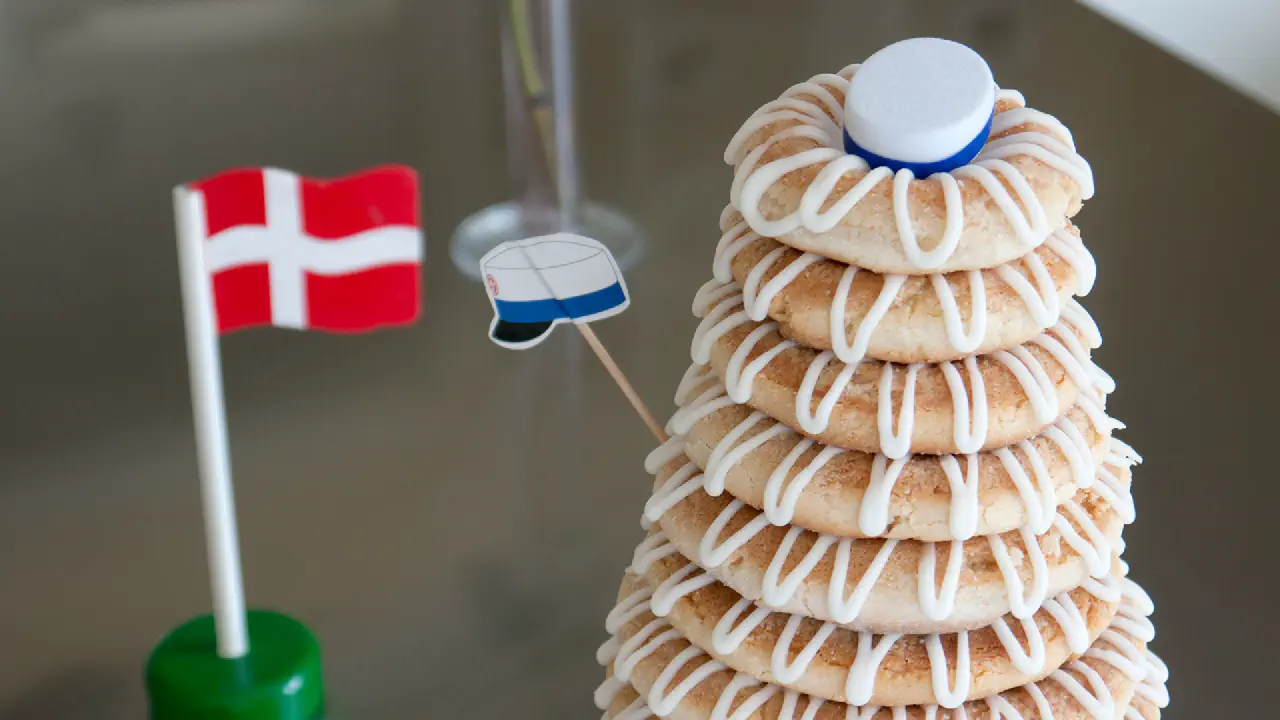
The whole cake dressed up for a celebration. © kvalifood.com
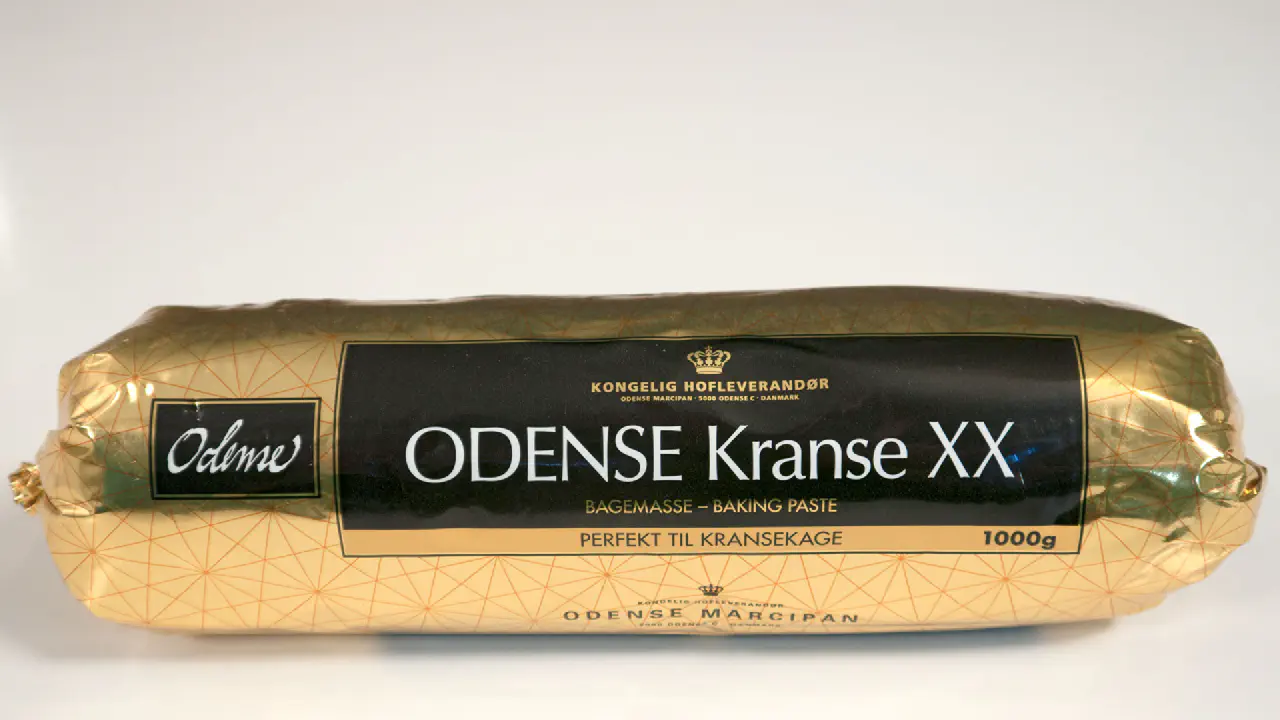
Odense Kranse XX © kvalifood.com
See Also
Marzipan Rings - Kransekagetoppe - Petit Four
Æbleskiver - American Pancakes - Pancake Layer Cake
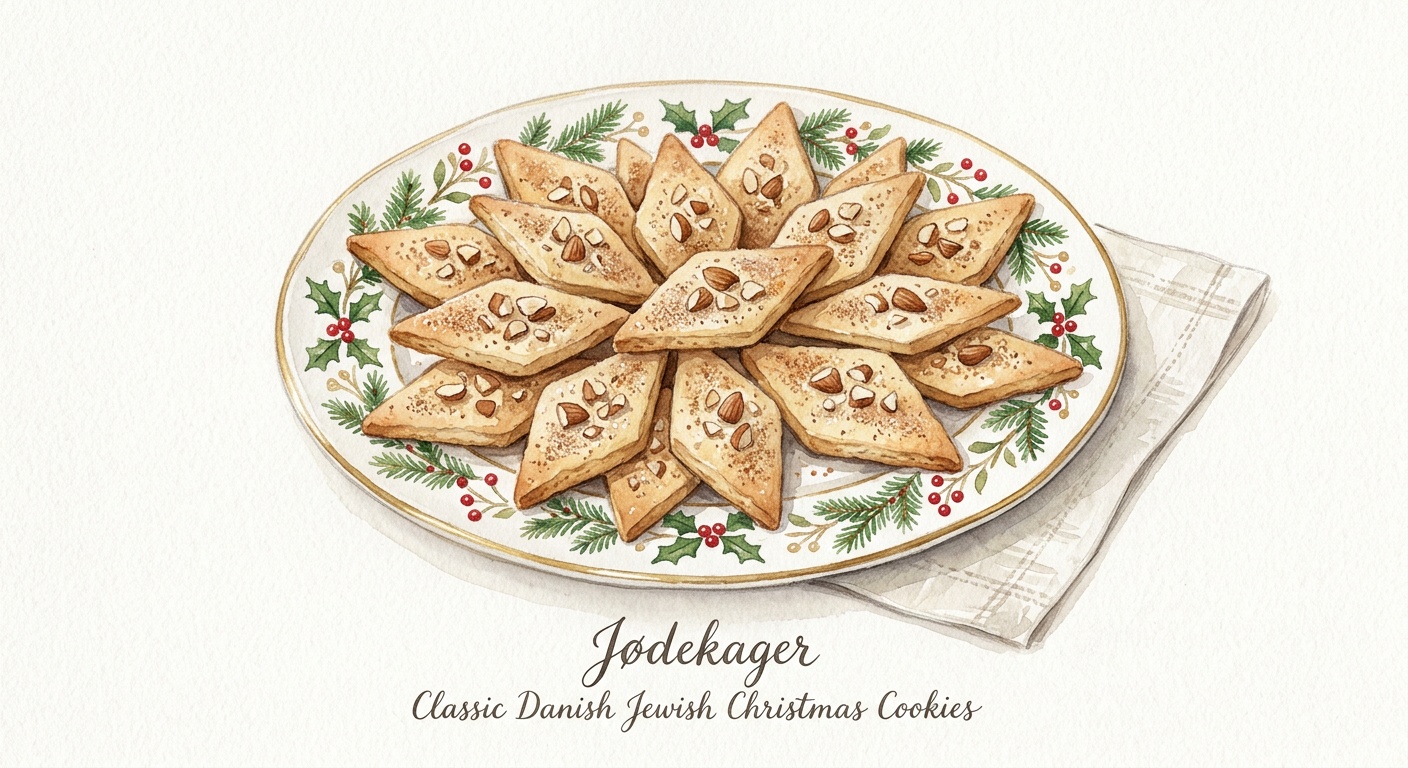
Jødekager (Danish Jewish Cookies)

Classic Æbleskiver
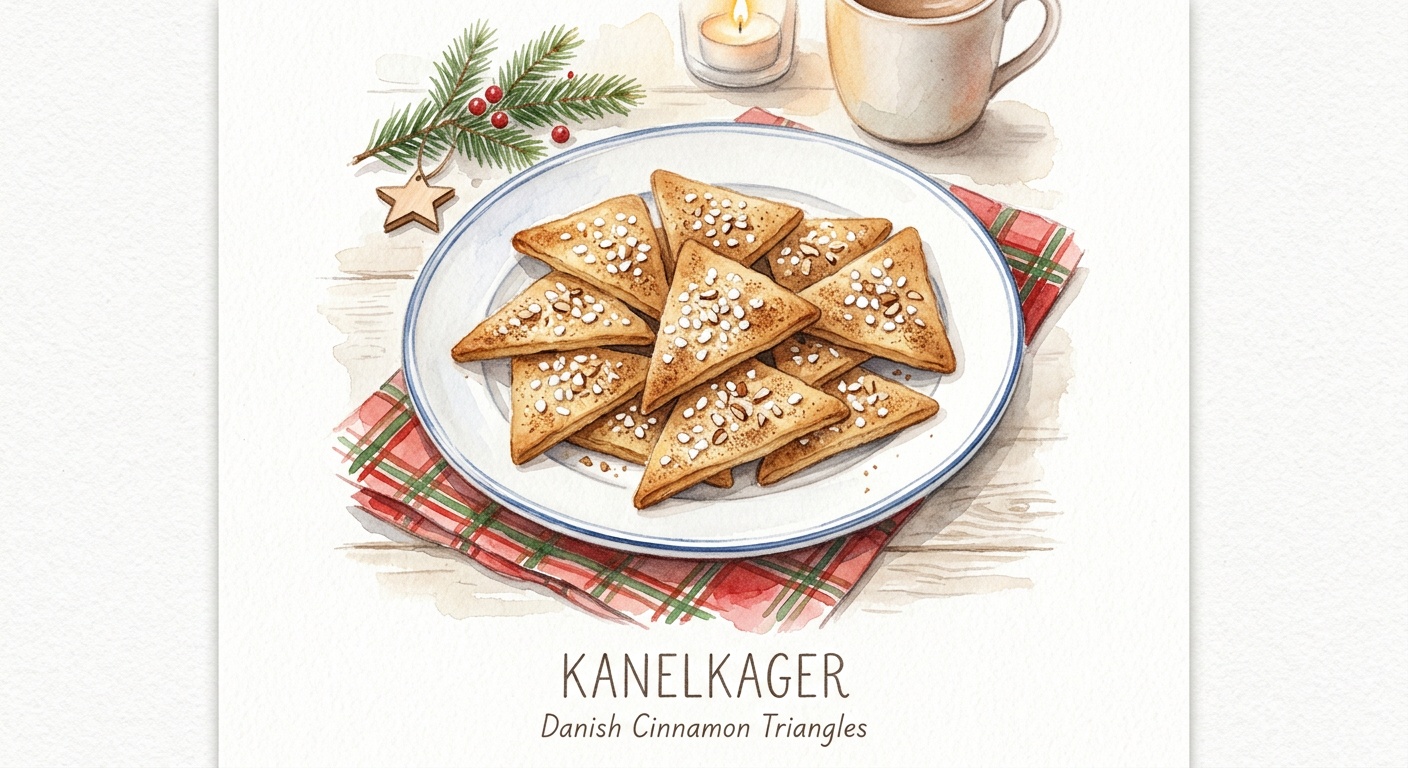
Cinnamon Cookies