Sous Vide Chuck Roast
Sous Vide Chuck Roast
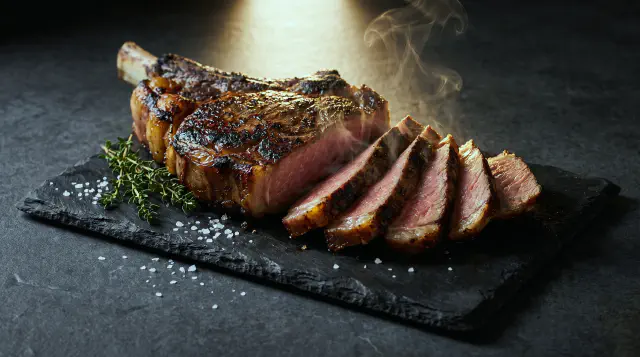
Chuck comes from the shoulder, a cut that works hard on the animal and comes out tough and full of connective tissue as a result. The classic fix is a pot roast: hours in the oven at a high, moist heat until the collagen melts and the meat falls apart. Sous vide - developed by French chefs in the 1970s to cook foie gras evenly, long before affordable immersion circulators brought it into home kitchens - offers a different fix entirely. Hold the same cut at a steak’s medium-rare temperature for a day or more, and the connective tissue still breaks down, just slowly, without ever pushing the meat past medium-rare. What comes out of the bag slices like a ribeye, tastes as rich and densely beefy as a roasted prime cut, and costs like chuck.
The ingredient list is short: a boneless chuck roast, salt, pepper, and a little oil for the sear. Garlic, rosemary, thyme, and a knob of butter in the bag are worth adding if you have them, though they’re flavor only and change nothing about the method. The roast itself is the only thing that needs to be right, trimmed of any thick fat cap or silverskin so the seasoning and heat reach the meat directly.
The process runs in three stages. Season the roast and, if there’s time, let it sit uncovered in the fridge overnight so the salt works its way in. Bag it with any aromatics and submerge it in a water bath held at exactly the temperature you want the finished meat to be. Over a full day or more at that temperature, the tough shoulder muscle turns tender without ever cooking past medium-rare, something no oven or stovetop can manage, since they can only push heat in, never hold it steady at one precise point. Finish with a hard, fast sear in a screaming-hot pan or on a grill, just long enough to build a crust on the outside.
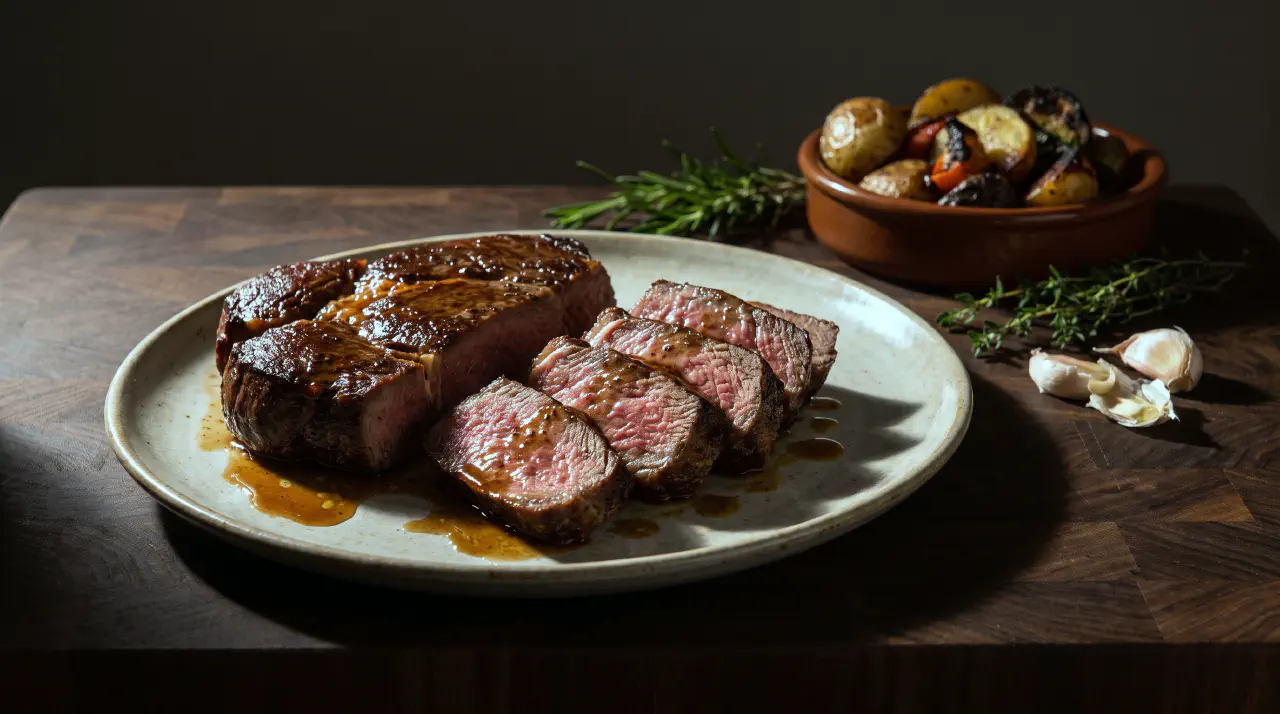
This is a good roast for a weekend when you’re around the house anyway. The bath needs almost no attention beyond checking the water level, and the only hands-on cooking happens in the last few minutes. Serve it sliced, the way you’d serve a steak: alongside roasted or mashed potatoes, a green salad, or char-grilled vegetables, with the pan drippings or a simple pan sauce spooned over the top.
Ingredients
Serves 4-6
- 1.4-1.8 kg boneless beef chuck roast, trimmed of excess fat and silverskin
- 1 1/2 tsp kosher salt, plus more to taste
- 1 tsp black pepper, freshly ground
- 1-2 tbsp neutral oil (or clarified butter), for searing
- 2 garlic cloves, peeled and lightly crushed (optional)
- 1 sprig rosemary, fresh (optional)
- 1 sprig thyme, fresh (optional)
- 1 tbsp butter (optional)
Directions
Season the chuck roast all over with the kosher salt and pepper, then let it sit uncovered on a rack in the fridge overnight if time allows. This dry brine improves seasoning penetration and helps the meat hold on to its juices. If you’re pressed for time, season right before bagging; the recipe still works, just with slightly less depth of flavor.
Fill a water bath and set an immersion circulator to 135°F (57°C). While it comes up to temperature, put the roast in a vacuum bag or a heavy-duty zip-top bag along with the garlic, rosemary, thyme, and butter, if using. Vacuum-seal the bag, or press the air out using the water-displacement method if sealing by hand.
Submerge the bag and cook for 24 to 30 hours. Chuck is a tough, well-worked cut, and it needs that much time at steak temperature to break down its connective tissue into something tender rather than chewy. Weigh the bag down or clip it to the side of the container so it stays fully submerged, and check the water level occasionally over the course of the cook, topping it up if evaporation gets ahead of you.
When the time is up, lift the bag out of the bath and take the roast out. Pat it completely dry on all sides with paper towels, and don’t rush this part. Any surface moisture left on the meat turns to steam the moment it hits a hot pan, and steam keeps the crust from ever forming.
Heat a heavy skillet, cast iron if you have it, or a grill, over the highest heat you can get, until the oil just begins to smoke. Sear the roast hard for about a minute per side and along the edges, turning it until a deep brown crust covers the whole surface. Work fast: the goal is color on the outside, not more cooking on the inside, which is already exactly where you want it.
Let the roast rest for five minutes, then slice it against the grain into steak-thickness portions and serve.
Notes
For a softer, more traditional pot-roast texture instead of a sliceable steak, cook the same roast at 150-165°F (65.6-74°C) for 18 to 36 hours. The higher end of that temperature range needs less time, the lower end more. The result comes out fork-tender and easy to pull apart rather than sliceable; finish with the same hard sear, or skip the sear altogether and shred the meat straight from the bag for sandwiches or tacos.
For a smoked, brisket-like version, cook at 155°F (68°C) for 36 hours, then finish with a 2-hour smoke on a grill (or a 275°F (135°C) oven roast) instead of a quick sear, to build a thick bark before slicing. This is a different dish from the quick-seared roast above, closer to sliced smoked brisket than to a steak.
Whichever temperature you choose, always pat the roast completely dry before searing, and keep the bag fully submerged for the entire cook. Both points come up again and again across sous vide sources as the most common failure points for this cut.
See Also
Beef Cuvette - Red Meat Sous Vide
Pot-roasted beef shoulder