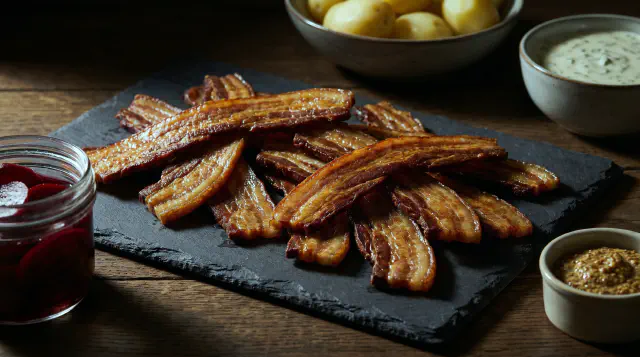
Sous Vide Pork Belly
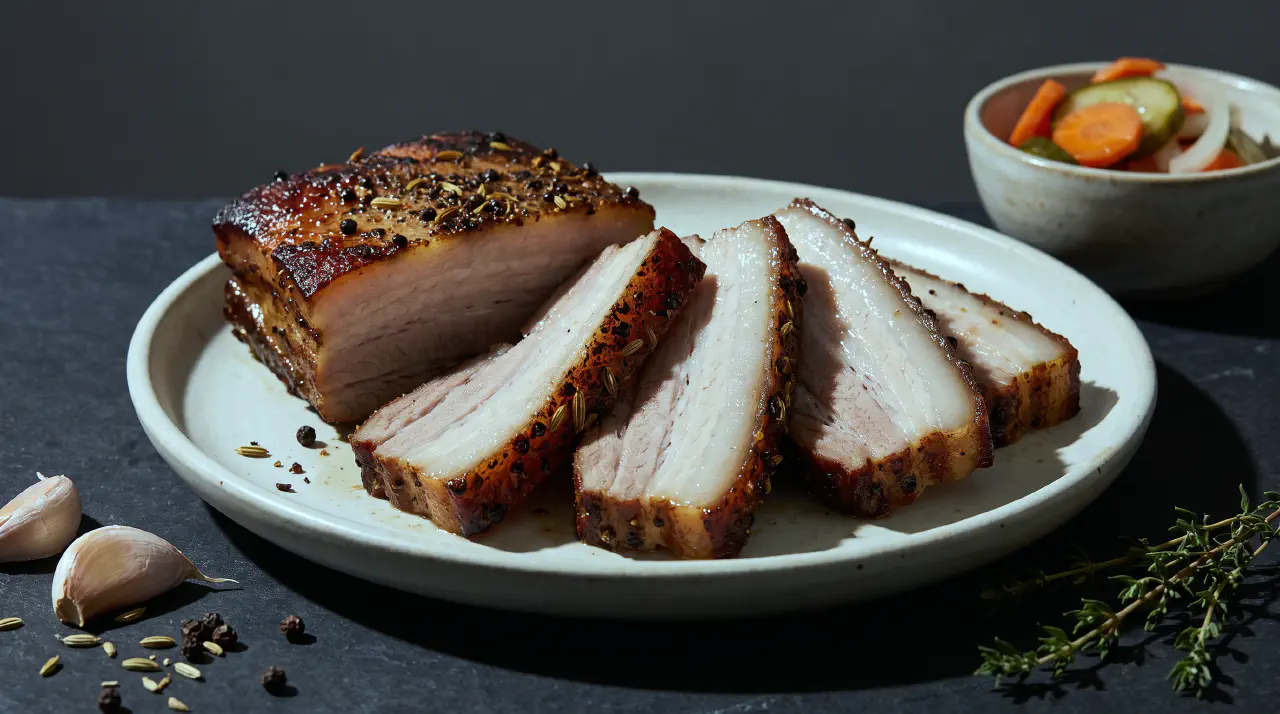
Sous Vide Pork Belly
Pork belly is mostly fat and collagen, which is exactly why it survives a long, slow water bath better than almost any other cut. A steak turns dry and stringy if it sits too long at temperature; pork belly does the opposite; the fat renders and the collagen breaks down into gelatin the longer it holds, so a bath that would ruin a loin chop is what actually makes this cut worth cooking. Held at a fixed, exact temperature for the better part of a day, it comes out fully cooked through and never dry, no matter how long it waits once it hits that point.
This recipe holds the belly at 165°F (74°C) for 24 hours, landing it in what’s usually called the “melting” school of pork belly cooking: soft, giving, with fat that has fully broken down rather than a firmer, more sliceable bite. Sous vide alone never browns anything, though, so the belly comes out of the bag pale and soft-surfaced no matter how long it cooked. A hard sear or a blast of high heat afterward is not optional here; it’s what turns rendered fat and tender meat into something with an actual crust, or, if the skin was left on, into shattering crackling.
Skin-on versus skinless is mostly a question of how much extra work you want to do. Leave the skin on, dry it out under refrigeration before cooking, and finish under a hot broiler or oven, and you get true crackling on top of the melting interior, the same contrast that defines Cantonese siu yuk and countless other skin-on roast pork traditions. Go skinless and finish in a hot skillet instead, and you get a simpler, no less satisfying dish: a deeply browned crust around meltingly soft meat, closer to what you’d get from a good porchetta once it’s sliced. Neither approach is more correct than the other; they’re just different traditions arriving at the same cut from different directions.
Pork belly cooked this way makes a rich, deeply savory main on its own, the fennel and cracked pepper giving it a warm, faintly anise-scented edge under all that fat, sliced into thick portions with something acidic alongside to cut through the richness: pickled vegetables, a sharp slaw, or kimchi all work well, plus rice or greens to round it out. Cut thinner, the same batch stretches into a starter or a shared plate, which is really how a cut this rich is best served: in smaller amounts, alongside things that don’t try to compete with it.
Ingredients
Serves 4
- 1 kg pork belly, skin-on or skinless (see Notes)
- 10 g kosher salt, plus more for the finishing sear or skin
- 3/4 tsp black peppercorns, coarsely cracked
- 3/4 tsp fennel seed, coarsely cracked
- 2 garlic cloves, minced or grated to a paste
- 1 tsp fresh thyme (or rosemary) leaves, chopped (optional)
- 10 ml neutral oil (vegetable or peanut), for searing
- 1/4 tsp baking powder, mixed with 3/4 tsp salt, for the skin (optional, skin-on crackling only)
Directions
Pat the pork belly completely dry. If the skin is on, score it lightly in a grid pattern with a sharp knife, cutting through the skin but not into the fat underneath.
Mix the salt, cracked peppercorns, fennel seed, garlic, and thyme, then rub it into the meat side of the belly. If you’re keeping the skin on for crackling, keep this rub off the skin itself.
For a skin-on belly, rub the baking powder and salt mixture into the skin only, then set the belly uncovered on a rack in the fridge for at least 2 hours, or overnight, so the skin dries out before it goes into the bag. This step does more for the final crackle than almost anything that happens later.
Vacuum-seal the pork belly, or use a heavy zipper-lock bag and the water-displacement method to press out the air.
Set the water bath to 165°F (74°C) and submerge the bag once it’s up to temperature. Cook for 24 hours. The long hold is what breaks down the collagen and renders the fat; there’s no way to shortcut it at this temperature.
Lift the bag out, transfer the belly straight into an ice bath until it’s fully cold, then refrigerate it uncovered for at least 4 hours, ideally overnight. Pressing it lightly between two trays while it chills, a cutting board and a couple of cans work fine, keeps it flat and makes for cleaner portions once it’s sliced.
Pat the chilled belly dry again and slice it into portions. If it’s skinless, heat the oil in a skillet over high heat until it’s just shimmering and sear the portions on all sides, 8 to 10 minutes total, until deeply browned. If the skin is on, roast the portions skin-side up at 425-450°F (220-230°C), or under the broiler, watching closely until the skin blisters and shatters, usually 15 to 25 minutes depending on the oven and how thick the portions are.
Notes
Two temperature schools both work for pork belly, and this recipe uses the “melting” one. 165°F (74°C) for 24 hours gives a soft, fully rendered bite that pulls apart easily. For a firmer, more sliceable “tender-slice” texture that holds together more like a good chop, cook at 140°F (60°C) for 24 to 48 hours instead. Don’t split the difference: a controlled side-by-side test of temperatures across this range found the middle ground, around 145-155°F (63-68°C), gives a worse result than either extreme, drier and less distinct than committing to one school or the other.
Skin-on and skinless are both valid; the choice is about how much crackling matters to you, not which one is “correct.” Skinless is simpler and finishes with a straightforward sear. Skin-on needs the extra drying step above but rewards you with true crackling.
If substituting table salt for kosher salt, use less; table salt is denser by volume, so measuring the same volume comes out noticeably saltier.
Chilling and pressing the belly before slicing isn’t a step to skip. It firms the fat back up, dries the surface further, and is what makes clean portions and an even sear or crackle possible.
See Also
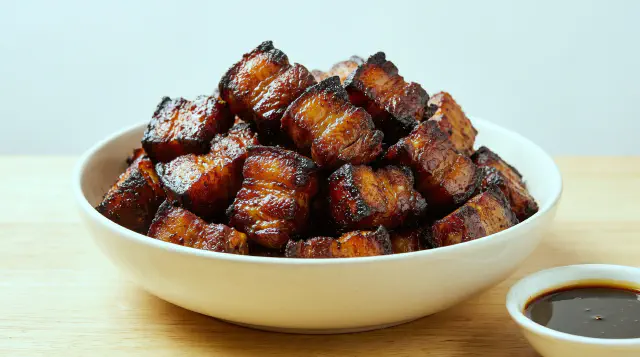
Air Fryer Pork Belly Bites
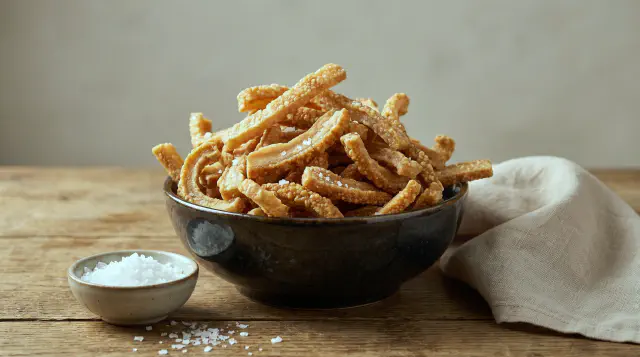
Air Fryer Pork Crackling (Flæskesvær)
Beef Cuvette - Red Meat Sous Vide
Danish Roast Pork with Crackling