Sous Vide Chicken Breast
Sous Vide Chicken Breast
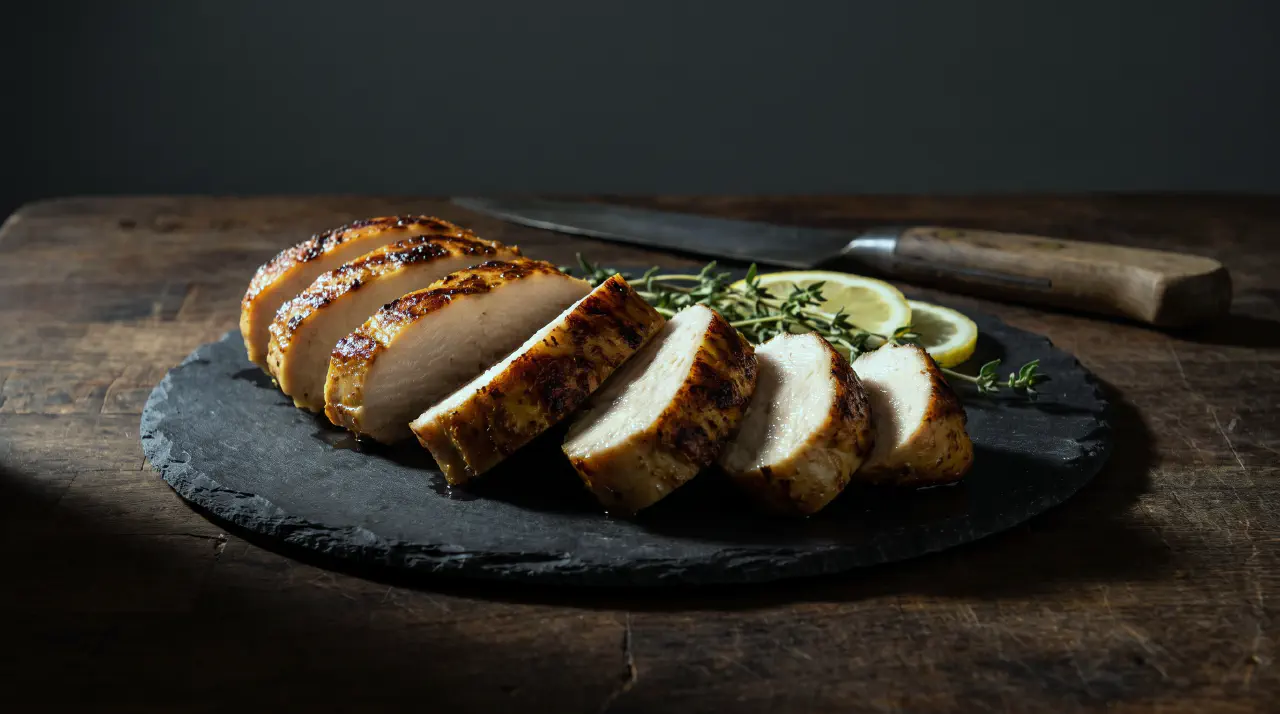
Sous vide chicken breast is the dish that usually converts people to sous vide cooking. The breast goes into a sealed bag and into a water bath held at one exact temperature for an hour or two, then gets a fast, hot sear just for color. There’s no guessing at doneness and no risk of the dry, stringy exterior that stovetop or oven-cooked chicken breast is famous for – the whole breast comes out the same texture, edge to edge.
The water bath is doing the real work. Set at 146°F (63°C), it can’t overshoot the way a stovetop or oven can – the chicken simply can’t get any hotter than the water surrounding it, so once it reaches temperature it just sits there safely instead of continuing to cook past the point you wanted. Lower it to 140°F (60°C) for a softer, almost custard-like bite, or push it up to 150°F (66°C) for a firmer texture, which holds up better if the chicken is going into a cold salad rather than being served hot.
Brining, the usual fix for dry chicken breast, isn’t needed here. Brining exists to counteract moisture loss from high, uneven heat – a problem this method doesn’t have in the first place, since the chicken never gets hotter than the temperature it’s meant to finish at.
This isn’t a regional or heritage dish – there’s no cuisine it belongs to. It’s a modern technique recipe that became the standard first project for anyone who buys an immersion circulator, because it’s hard to get wrong and it improves dramatically on ordinary pan-cooked or baked chicken breast. Slice it over a green salad, tuck it into a sandwich, or serve it plain next to rice and vegetables; because the technique itself does most of the work, it pairs with nearly anything a normal roasted or pan-seared chicken breast would.
Ingredients
Serves 4
- 4 chicken breasts, boneless and skinless (200-250 g each; or bone-in, skin-on, for a crisp-skin finish)
- 1 tbsp neutral oil (vegetable, canola, or grapeseed), plus more for searing
- 1½ tsp kosher salt, about 1% of the chicken’s weight
- ½ tsp black pepper, freshly ground
- 2-3 sprigs fresh thyme (or rosemary), optional
- 2-3 slices lemon, optional
Directions
Season each chicken breast on both sides with the kosher salt and freshly ground pepper, then place them in a vacuum bag or a zip-top freezer bag along with the oil and the thyme or lemon, if using. Seal with a vacuum sealer, or use the water-displacement method for a zip-top bag: lower the bag slowly into water, letting the pressure push the air out through the open top corner before sealing it just above the waterline.
Preheat the water bath to 146°F (63°C). That temperature leaves the chicken juicy and tender but still firm enough to slice cleanly and sear well. Drop to 140°F (60°C) instead for an even softer, more custard-like texture best eaten hot right away, or go up to 150°F (66°C) for a slightly firmer bite that holds up better if the chicken is headed for a cold salad.
Submerge the bagged breasts fully in the bath, keeping them clear of the circulator’s intake, and cook for 1½ to 2 hours. The exact water temperature does the cooking evenly all the way through, so there’s real slack in the timing: the bag can sit in the bath up to 4 hours without harm, but don’t push much past that, or the texture starts to turn mushy.
Take the bag out of the bath, remove the chicken, and pat it thoroughly dry with paper towels. Any surface moisture left on the chicken will steam instead of brown, and a dry surface is what actually gets you a sear.
Heat a cast-iron or other heavy skillet over medium-high heat with a thin film of neutral oil until it shimmers. Sear the chicken for 1 to 2 minutes per side, skin-side down first if you went bone-in and skin-on, until deeply golden. The chicken is already fully cooked, so this step is only about color and crust – don’t linger, or you’ll dry out the outside of an otherwise perfectly cooked breast.
Rest for 2 to 3 minutes, then slice on the bias and serve.
Notes
The 140-150°F (60-66°C) band is the “juicy” range for chicken breast – every source’s number falls inside it. 140°F (60°C) gives the softest, most custard-like texture; 146°F (63°C), used here, is tender with a texture closer to normal cooked chicken; 150°F (66°C) is firmer still, and better suited to cold uses like chicken salad since it holds up better once chilled.
Don’t treat this like a low-and-slow braise. Chicken breast pasteurizes fast at these temperatures – once a breast is up to 146°F (63°C) all the way through, it clears the safety threshold in well under 15 minutes of actual hold time – so the 1½-to-2-hour window is mostly about letting a thick breast heat through evenly, not about a long hold. Leaving it in for 5-6+ hours doesn’t add anything and actively pushes the texture toward mushy.
Skip fresh garlic in the bag. Sealed, low-oxygen, extended-time conditions at these temperatures are exactly the environment that can support botulism risk; use garlic powder in the bag instead, or add fresh garlic to the pan during the sear.
For meal prep or cold chicken salad, skip the sear: chill the sealed bag in an ice bath right after cooking, then refrigerate up to 5 days. Reheat gently in a 150°F (65.5°C) bath for about 20 minutes, or use it straight from the fridge, cold.
Never reheat chicken that was originally cooked below 130°F (54.4°C) – that’s below the range that reliably pasteurizes within realistic hold times.
See Also
Air Fryer Chicken Breast
Beef Cuvette - Red Meat Sous Vide
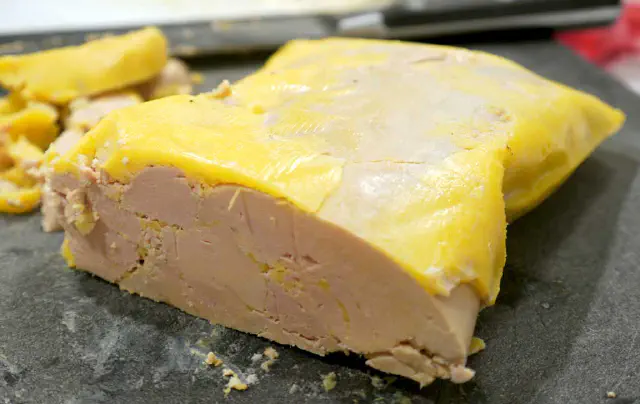
Foie gras terrine - made sous vide