Baking Stones and Steam
A home oven runs at 1–3 kW and typically reaches 250°C. A professional deck oven runs at 27 kW and holds 300°C+ with massive thermal mass. Two controllable factors — heat delivery rate to the bread base and steam — close most of this gap for home baking.
Heat delivery: why the surface matters
Heat moves from oven to bread through three paths: radiation from oven walls, convection from circulating hot air, and conduction from the surface the bread sits on. Air is a poor conductor (0.025 W/m·K). A baking surface delivers far more heat per second than air at the same temperature — and the material determines how much heat reserve it carries.
Thermal properties of common baking surfaces
| Material | Conductivity (W/m·K) | Density (kg/m³) | Verdict |
|---|---|---|---|
| Ceramic pizza stone | ~1 | ~2,200 | Common, mediocre |
| Brick / granite | ~3 | 2,600–2,700 | Better, heavy, fragile |
| Cast iron | ~55 | 7,850 | Excellent + very high mass |
| Steel | ~45 | 7,850 | Similar to cast iron, easy to fabricate |
| Aluminum | ~220 | 2,600 | Best conductivity but low mass per thickness |
Steel and cast iron store 2–3× more heat per unit volume than stone and conduct it into the dough 15–45× faster. An 8.5 kg steel plate (400 × 300 × 8 mm) provides bottom heat in a 250°C home oven that rivals a 500°C stone floor in a professional oven.
The practical consequence: a ceramic stone requires very high oven temperature to compensate for low conductivity. Steel or cast iron at lower temperature delivers equivalent or better bottom heat and is far safer.
Steam: why it matters
Professional ovens inject steam for the first 10–20 minutes of baking. Steam does two things:
Keeps the surface plastic. The wet dough surface stays moist and extensible, allowing full oven spring as internal gas expands. Without steam, the surface dries and forms a skin before expansion is complete — the bread bursts through weak spots rather than expanding evenly under the scores.
Condenses on the cold dough. Steam releases its latent heat on contact with the cool loaf, delivering roughly 10× more energy per unit than dry hot air at the same temperature. This accelerates surface heating and creates the shiny, glassy crust characteristic of bakery bread.
After ~15 minutes the loaf is set, steam is purged, the surface dehydrates, temperature rises above 140°C, and the Maillard reaction takes over to brown and flavor the crust.
The idea that porous ceramic stones release steam to improve baking has no basis — the surface porosity is irrelevant to crust quality.
Home oven strategies
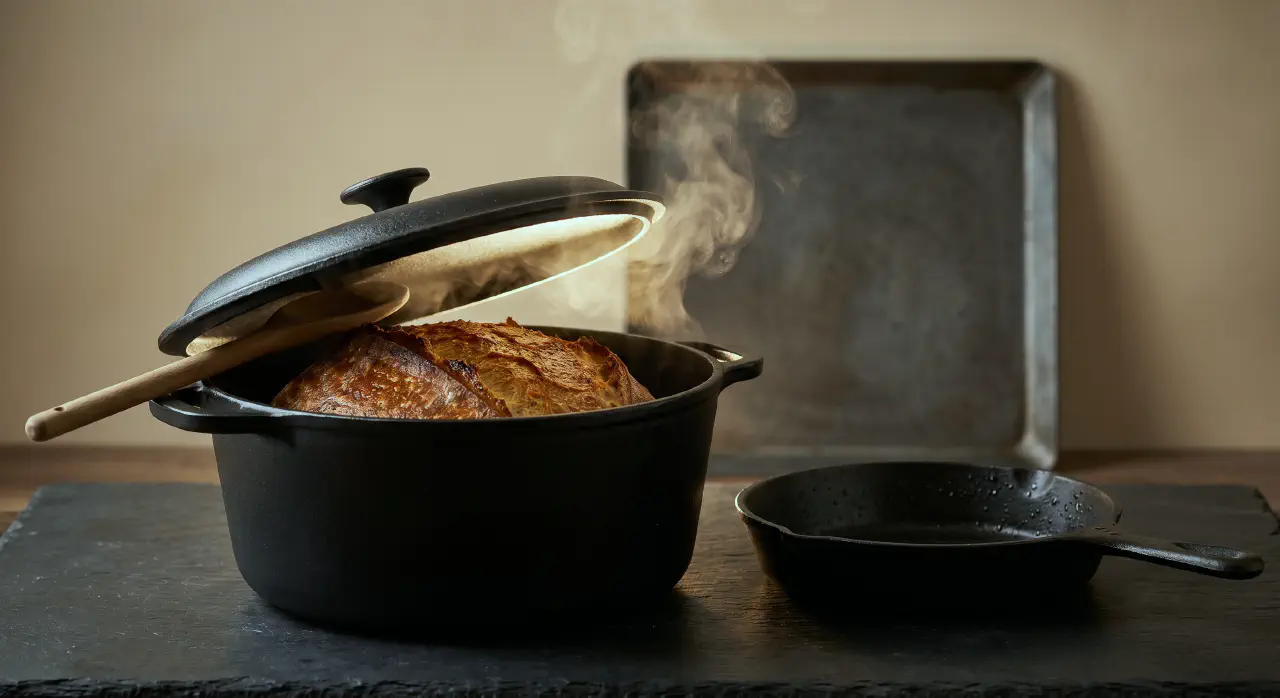
Dutch oven (best for round loaves)
Preheat a cast iron pot with lid to 250°C for at least 30–60 minutes. Bake the shaped loaf inside with the lid on for the first 20 minutes. The loaf’s own moisture generates steam inside the enclosed space. Remove the lid for the final 15–20 minutes to brown the crust. This is the most reliable home method and matches professional results for round breads.
Steel plate + steam pan (for long loaves)
Preheat a heavy steel plate in the middle of the oven and a second heavy cast iron pan on the oven floor. When the bread goes in, pour 1 dl of hot tap water onto the floor pan — its stored heat instantly flashes the water to steam. Use hot water, not cold: cold water doesn’t generate enough steam and drops the floor temperature substantially.
Add more hot water every 5 minutes for the first 15–20 minutes. Set the oven 25–50°C higher than the target temperature to offset the heat lost each time the door opens for steam addition.
Oven preheating
Home oven thermostats measure air temperature. The air reaches temperature in a few minutes; the thermal mass (stones, steel, pots) takes much longer. Allow at least 30 minutes for steel plates, 60 minutes for ceramic stones. Loading bread into a hot-air-but-cold-mass oven produces flat, pale bread.
Scoring
Score the bread just before loading — one or more shallow cuts at a low angle, almost parallel to the surface. This controls where gas escapes during oven spring. Without scoring, gas bursts through random weak points and the crust may delaminate when sliced. A sharp blade (lame, razor, or thin paring knife) is essential; a dull knife drags and tears the dough rather than cutting it cleanly.
Internal temperature as the finish signal
Timer-based recipes are estimates. Use a probe thermometer in the center of the crumb — the last point to reach temperature — as the true doneness signal:
| Bread type | Target internal temp |
|---|---|
| Wet dough, hard crust (sourdough, ciabatta) | 94–98°C — aim for 96°C (205°F) |
| Standard enriched dough | minimum 82°C (180°F) |
| Large loaves (over 1 kg) | 85–88°C (185–190°F) |
If the crust browns too fast before the inside is done, tent loosely with foil and continue baking.
See also
- bread-baking — the complete baking workflow
- bakers-percentage — hydration and dough type classification
- maillard-reaction — crust browning chemistry
- heat-transfer — conduction, convection, radiation fundamentals
- gluten-science — oven spring and gluten coagulation during baking
- leavening — yeast, fermentation, oven spring