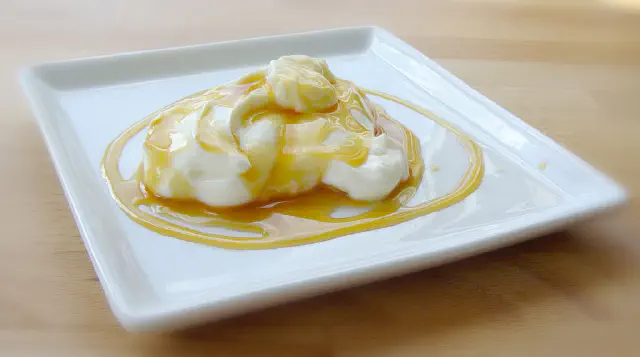
Sous Vide Yogurt
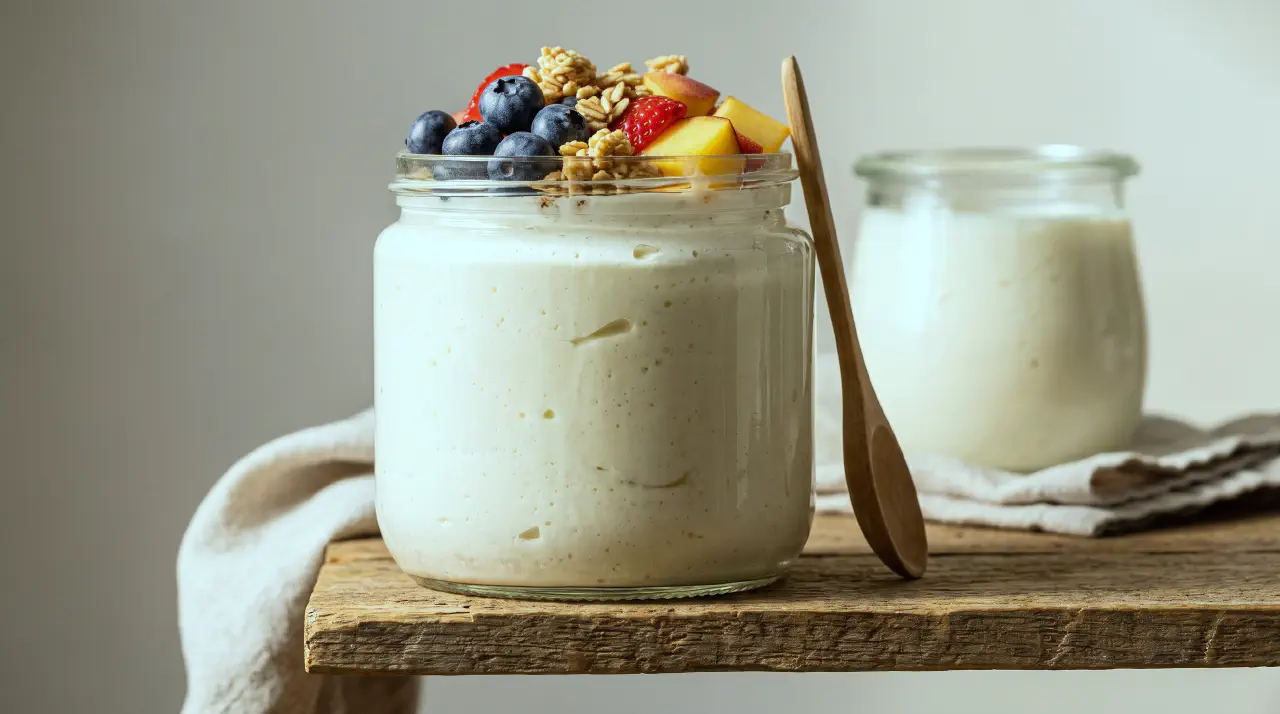
Sous Vide Yogurt
Making yogurt at home usually means finding somewhere in the kitchen that holds a low, steady warmth for hours on end - the inside of a turned-off oven with the light left on, a wrapped-up pot on a heating pad, a countertop yogurt maker bought for exactly this one job. A sous vide circulator does the same thing more precisely than any of those improvised spots, holding the water within a fraction of a degree for as long as the recipe calls for, which is most of what separates a yogurt that sets reliably from one that sometimes doesn’t.
The process runs in two distinct temperature stages, and both matter. Milk is first scalded to around 180°F (82°C), which denatures the whey proteins and is the difference between a thin, watery set and a thicker, creamier one. It then has to cool well below that heat before the starter goes in, since live cultures added to milk that’s still too hot will simply die instead of getting to work. Once the starter is whisked through, the jars go into the water bath at a much lower temperature - low enough to keep the bacteria alive and fermenting, but warm enough for them to work at a reasonable pace.
Yogurt itself doesn’t belong to any one country’s kitchen - fermented milk has been made wherever people kept milk-producing animals and no reliable refrigeration, from the Balkans to Central Asia to the Middle East, long before anyone wrote a recipe for it. The sous vide version doesn’t change the biology at all; it just replaces guesswork about where in the house is warm enough with a number the circulator holds exactly. Left at the shorter end of the incubation window, the result is mild and loose enough to pour; left longer, it turns noticeably tangier and firmer, with the same starter and the same milk.
One batch covers breakfast for most of the week - a finished jar is good enough to eat as is with fruit and granola, but it’s also the starting point for a few other things. Straining it through cheesecloth thickens it toward Greek yogurt or, taken further, something close to a soft labneh. And since live yogurt cultures keep working as long as they’re fed, a spoonful of today’s batch can start tomorrow’s - though it’s worth going back to a fresh store-bought starter every so often, since homemade cultures do weaken with repeated reuse.
Ingredients
Makes about 1 litre
- 950 ml whole milk (or ultra-pasteurized, see Notes)
- 4 tbsp plain yogurt, with live active cultures, at room temperature
Directions
In a saucepan over low-medium heat, warm the milk to 180°F (82°C), stirring occasionally and scraping the bottom so it doesn’t scorch. Hold it there for a moment once it reaches temperature, then take it off the heat. If the milk is ultra-pasteurized, skip this step entirely and go straight to cooling it (see Notes).
Cool the milk down to 110°F (43°C) - an ice bath speeds this along. Don’t add the starter while the milk is any hotter than this; the live cultures can be weakened or killed outright by residual heat.
Whisk a few tablespoons of the cooled milk into the yogurt starter to loosen it, then whisk that mixture back into the rest of the milk until fully combined. Pour into mason jars, leaving about an inch of headroom at the top, and close the lids just until you feel resistance. Don’t overtighten - fermentation produces a little gas, and a fully sealed jar has nowhere for it to go.
Preheat the sous vide water bath to 110°F (43°C). Submerge the jars, weighted or clipped so they can’t float, and incubate for 5 to 12 hours. The shorter end gives a milder, looser yogurt; pushing toward 12 hours makes it tangier and noticeably thicker.
Move the jars to the refrigerator and chill for at least 4 hours, ideally overnight. This final chill is what lets the yogurt set to its finished texture - it will still look thin straight out of the water bath.
Eat it as is, with fruit and granola, or strain it through cheesecloth or a coffee filter set over a bowl for a thicker result.
Notes
Both temperatures matter and neither is optional: scald at 180°F (82°C) for a thicker set, then incubate at 110°F (43°C) for 5 to 12 hours. Dropping either number, or skipping the incubation stage’s timing altogether, is the most common way home versions of this recipe come out wrong.
Ultra-pasteurized milk - check the carton, it’s standard for shelf-stable, long-life milk - has already been heat-treated hot enough at the dairy to get the same effect as scalding. If that’s what you’re using, skip the scald and just cool the milk to 110°F (43°C) before whisking in the starter.
For a thicker, Greek-style yogurt, strain the chilled yogurt through cheesecloth or a coffee filter for 1 to 2 hours; left overnight, it turns into something closer to labneh. Either way, expect to lose 40-50% of the volume as whey.
Whole milk makes the richest, thickest yogurt. Lower-fat milk still works, just thinner. And don’t skip the scald when starting from regular pasteurized (not ultra-pasteurized) milk - beyond the texture benefit, it also matters for food safety.
See Also
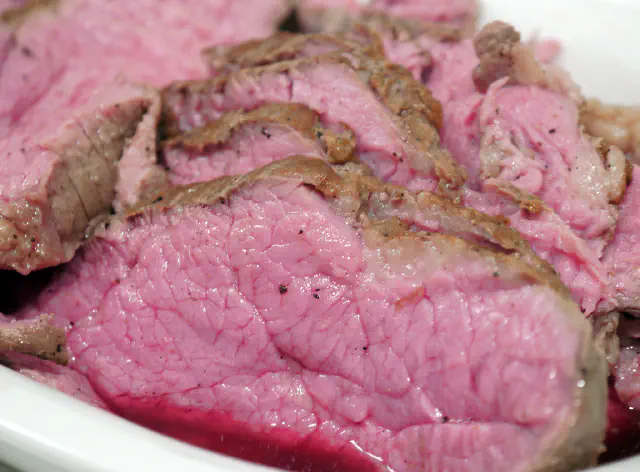
Beef Cuvette - Red Meat Sous Vide
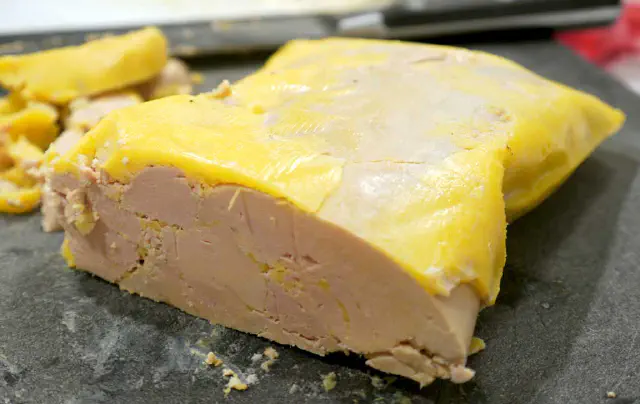
Foie gras terrine - made sous vide
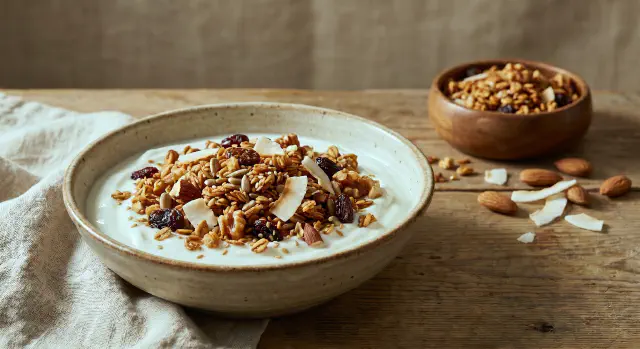
Homemade crunchy breakfast muesli and chocolate muesli
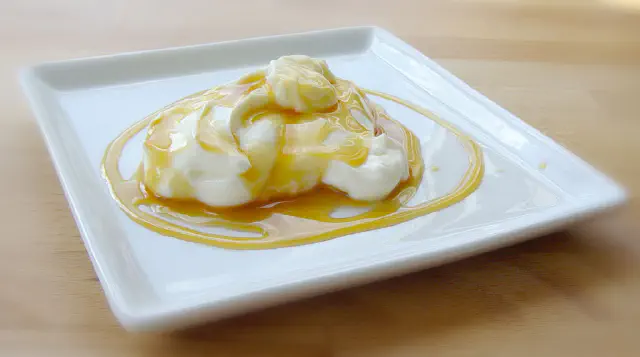
Homemade Greek/Tyrkish yogurt of whole milk